Kubernetes at home for fun and education
Homekube.org aims to set up a full operational kubernetes environment on a baremetal Ubuntu server. The focus is getting something done first and improve your kubernetes skills step by step along a happy path. All installations are on AMD (PC) or ARM (Raspberry) or Proxmox hosts (docs t.b.d) purely using containers (LXC/LXD or Incus (in contrast to VM based))

Following this tutorial you should have Kubernetes and a sample application installed along with the most useful and popular administration components on your local Ubuntu server(s). Installations cover PC (AMD64), ARM64 (Raspbery Pi5), Proxmox and secured operation using Identity Access Managegment (IAM (Keycloak))
| App | Online AMD64 |
Online Raspberry |
Online Raspberry w Incus |
Proxmox (docs t.b.d) |
Online IAM Keycloak |
|---|---|---|---|---|---|
‘Who am I’ echo service  whoami.md whoami.md |
 |
 |
 |
 |
 |
Kubernetes dashboard  dashboard.md dashboard.md |
 |
 |
 |
 |
 |
Grafana monitoring  grafana.md grafana.md |
 |
 |
 |
 |
 |
Prometheus metrics  prometheus.md prometheus.md |
 |
 |
 |
 |
 |
| Testing payloads and response times *1)  workload-testing.md workload-testing.md |
 |
||||
Logoff  |
Where logins are required use demo/demo with basic dashboard permissions to view namespaces, pods and logs.
For Keycloak SSO IAM you can also use simple-user/s3cr3t which provides dashboard access with elevated permissions
(read access) on almost all objects. Only administrator (pw only available to site admins) may write settings.
Use logoff to switch user accounts.
Project philosophy
The idea of this project is to set up a fully functional kubernetes environment on budget hardware - a PC / Server or a Raspberry Pi. While learning step by step the final setup is a complete professional appliance with all major components integrated. All steps are explained in detail and accompanied by publicly accessible online demos.
There are many ways to install Kubernetes locally but for simplicity we’ll follow Ubuntu’s recommended  MicroK8s installation recipes.
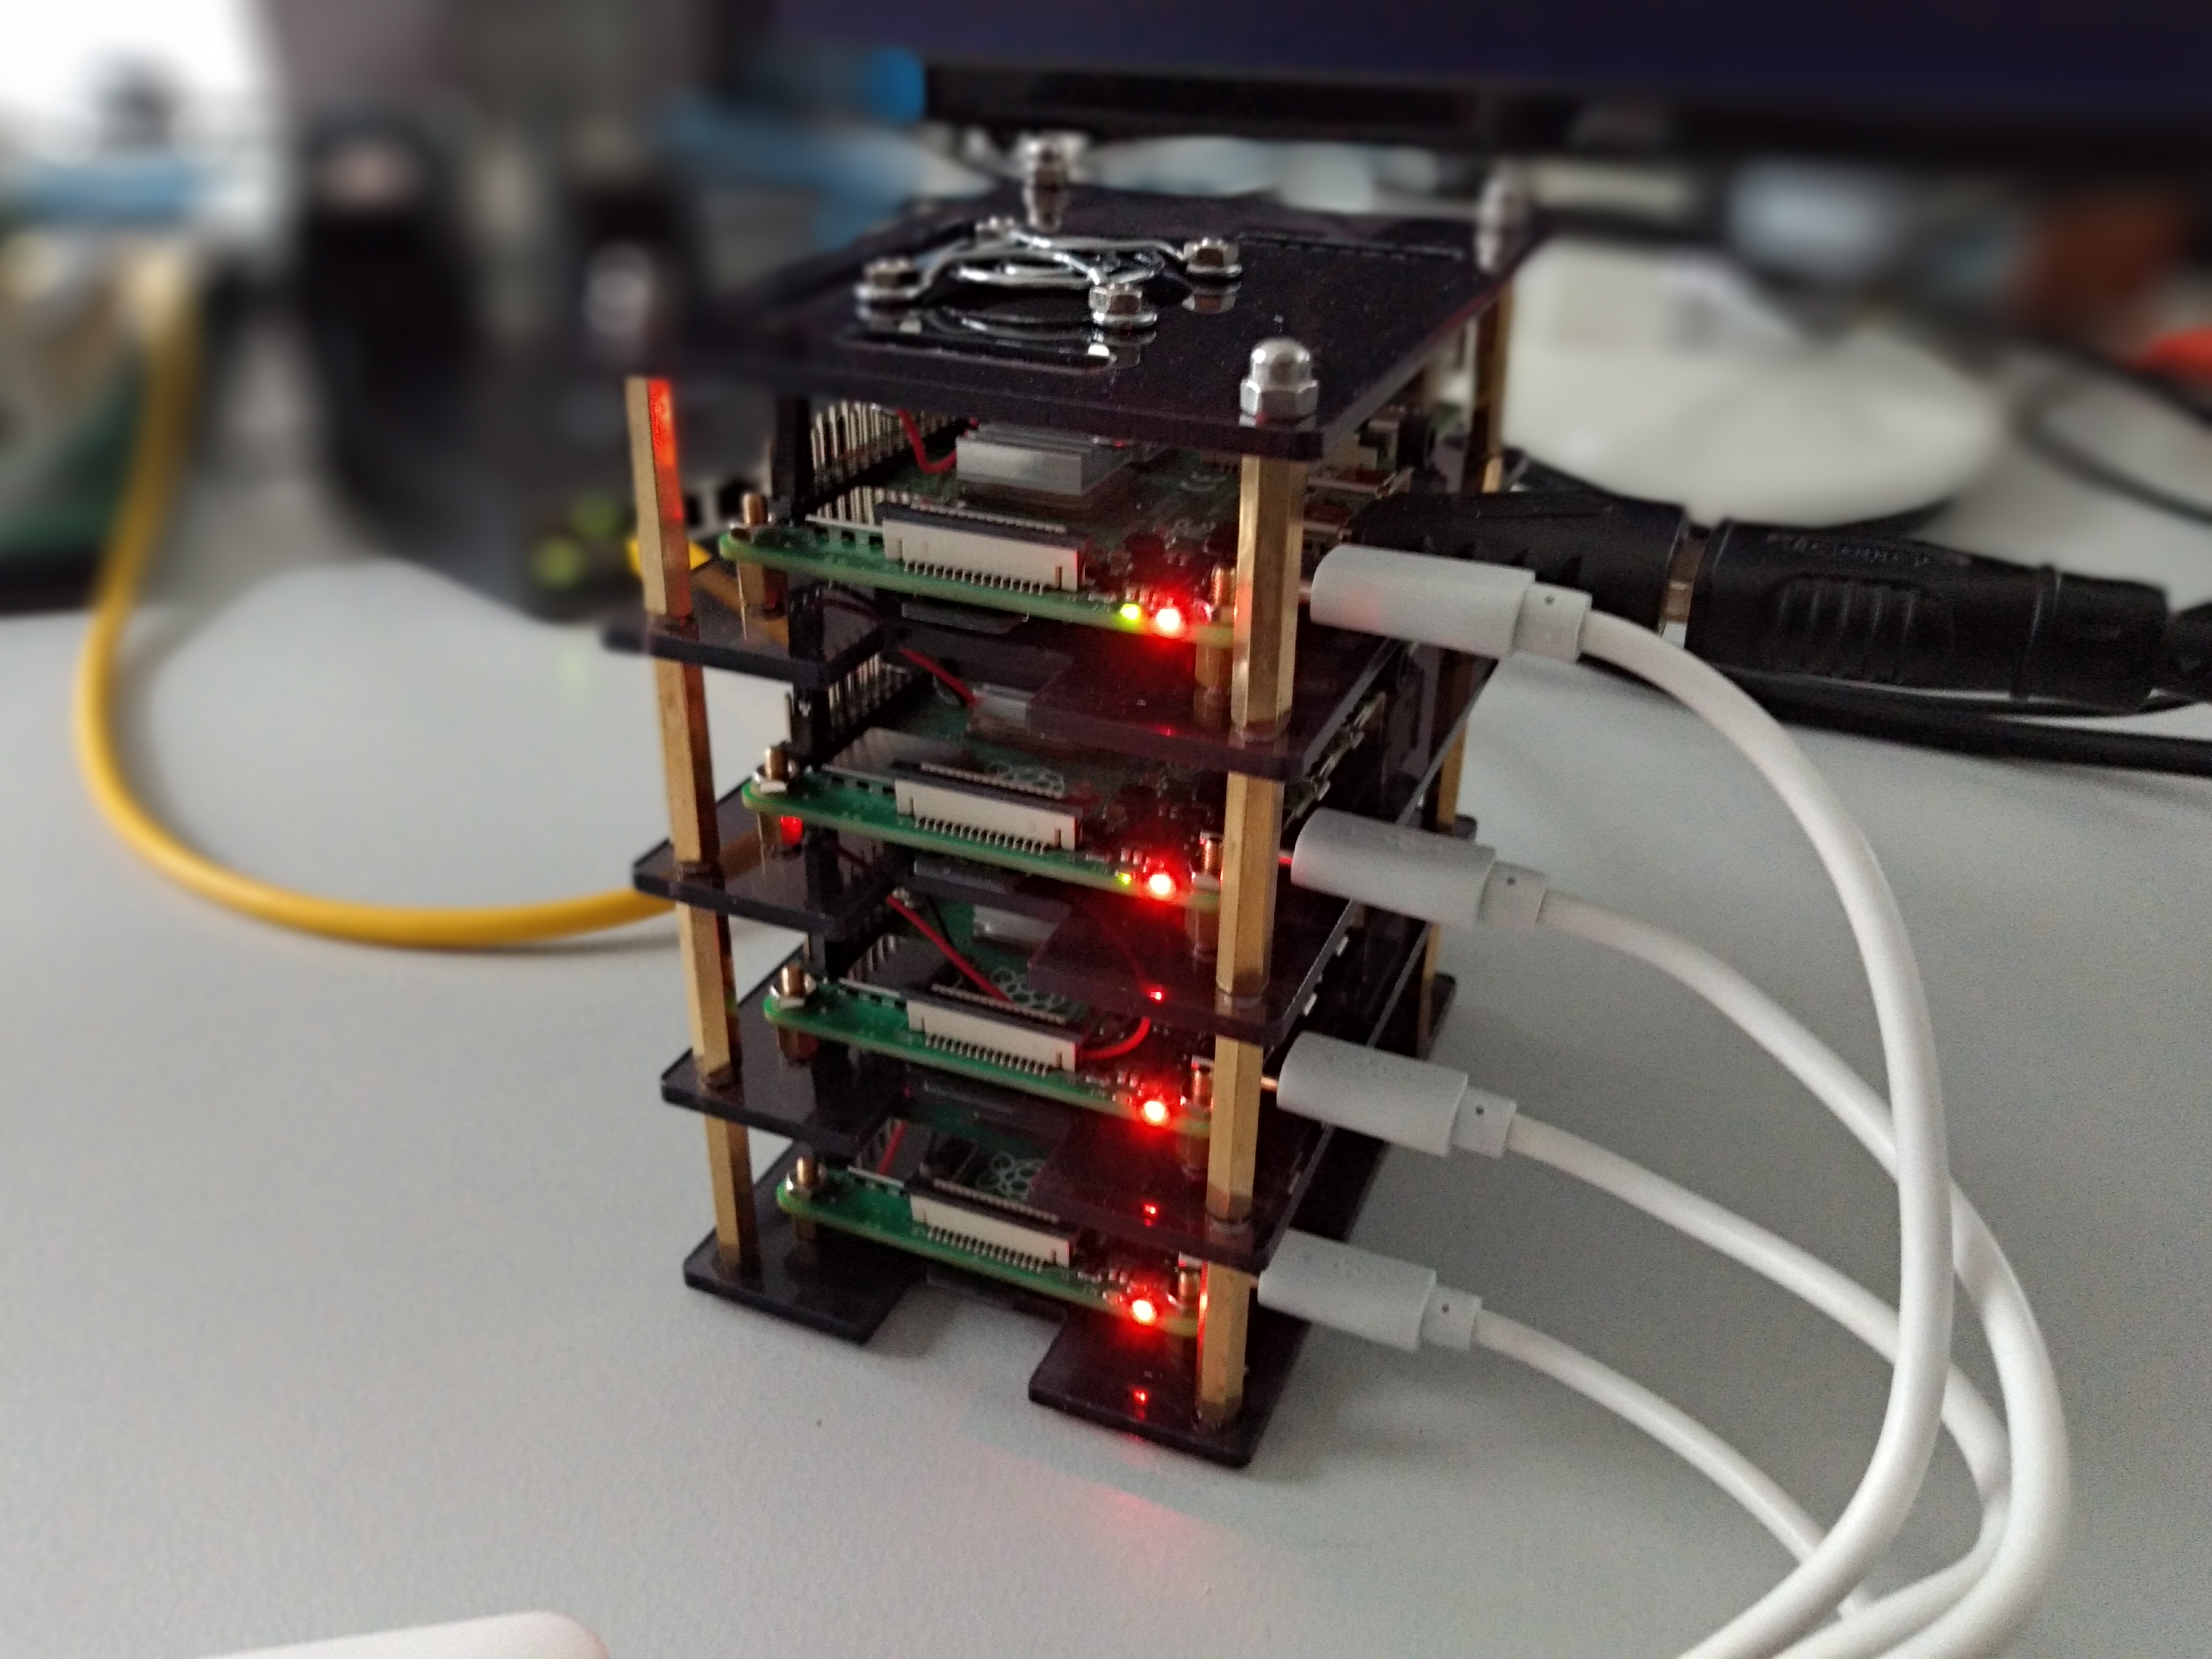
With just a few commands we will setup a Kubernetes single node locally. For more complex setups including Multi-Host Multi-Cluster on a pile of Raspberrys see also the
  installation variants.
Requirements
- AMD64 (PC with 8GB and SSD) or a VM with 8GB dedicated storage or
- ARM64 (Paspberry Pi5 with 8GB and SSD strongly recommended (SD cards fail after a while) *2)
- External NAS drive supporting NFS filesystem (e.g. another Raspberry) for sharing and archiving data
Base Setup
This tutorial focuses on setting up a containerized environment using a container runtime. *3)
While its more complex than direct installation it offers the additional benefit of running multiple containers / instances of the target hardware.
 Setup environment ->
  Provision container(s)
TLDR; Service installation
Use the (semi-) automated scripts in src/install-all.sh (without Keycloak SSO)
or src/install-with-sso1.sh and src/install-with-sso2.sh (includes postgres db and keycloak)
Service installation
A step by step approach
Quick tour
 Dashboard ->
 Helm I ->
 Helm / Echo Service ->
 Echo service II
Advanced tour I
Quick tour ->
 Ingress ->
 Dashboard II ->
 Nfs ->
 Prometheus Metrics ->
 Grafana
Advanced tour II
Advanced tour I ->
 Cert manager ->
 Testing response times and payloads
Pro tour
Advanced tour II ->
 Postgres Storage ->
 Keycloak installation ->
 Keycloak config ->
 Dashboard SSO / Oauth2-proxy
Footnotes
*1) -> open dashboard ‘Request Handling Performance’
*2) An ethernet connection to the target device is required. WLAN does not work out of the box.
NOTE that if you want to use a VM on your developers workstation as a target the installation requires additional steps not covered in this tutorial.
*3) If you prefer a simpler approach follow  skipping containers
