
Dashboard
We do not use the MicroK8s dashboard installation manifests for a
 couple of reasons .
In case its already installed we will disable it first.
microk8s disable dashboard
Instead we simply install the upstream
 community version
# Add kubernetes-dashboard repository
helm repo add kubernetes-dashboard https://kubernetes.github.io/dashboard/
# Deploy a Helm Release named "kubernetes-dashboard" using the kubernetes-dashboard chart
helm upgrade --install kubernetes-dashboard kubernetes-dashboard/kubernetes-dashboard --create-namespace --namespace kubernetes-dashboard --version 7.5.0
Lets quickly check the installation. 192.168.1.100 is our server ip when following the prerequisites.
kubectl -n kubernetes-dashboard port-forward svc/kubernetes-dashboard-kong-proxy 10443:443 --address 0.0.0.0
Port-forward is just a temporary solution for development. When the session is terminated the port is no longer accessible.
Alternatively you might prefer a
permanent solution. .
In your local browser open https://192.168.1.100:10443
A warning about an untrusted certificate will show up and upon confirmation in Firefox
you’d see the dashboards sign-in page. This may not work for you.
Read why and troubleshoot …

We will create appropriate certificates
with LetsEncrypt later and install them in the Ingress part of this tutorial.
For login we create two users. One that has full admin rights and one with restricted rights.
The Create sample user docs
provide some more details about that. Here is the short path:
cd ~/homekube/src/dashboard
kubectl apply -f create-admin-user.yaml
kubectl apply -f create-simple-user.yaml
These manifests create the required

clusterrolebindings serviceaccounts and their secrets. Now we inspect the created secrets (account tokens)
manually or execute the script:
name=simple-user # or 'admin-user'
namespace=kubernetes-dashboard
token=$(kubectl -n $namespace get secret | grep ${name}-token | cut -d " " -f1)
kubectl -n $namespace describe secret $token
From the output copy the token: encrypted secret in the DATA section (with a double click) to the clipboard and paste it
into Enter token * input field and sign in.
Name:         simple-user-token-nj2qx
Namespace:    kubernetes-dashboard
Labels:       <none>
Annotations:  kubernetes.io/service-account.name: simple-user
              kubernetes.io/service-account.uid: 0a08fec3-c8dc-4ec2-ae87-bb1ff53b01c3

Type:  kubernetes.io/service-account-token

Data
====
namespace:  20 bytes
token:      eyJhbGciOiJSUzI1NiIsImtpZCI6InVZXzVvdmtBUnp4bmpaczdlVXdLWkhkU3U0QzZReTY1U3ZydlpNWTVqMjgifQ.eyJpc3MiOiJrdWJlcm5ldGVzL3NlcnZpY2VhY2NvdW50Iiwia3ViZXJuZXRlcy5pby9zZXJ2aWNlYWNjb3VudC9uYW1lc3BhY2UiOiJrdWJlcm5ldGVzLWRhc2hib2FyZCIsImt1YmVybmV0ZXMuaW8vc2VydmljZWFjY291bnQvc2VjcmV0Lm5hbWUiOiJzaW1wbGUtdXNlci10b2tlbi1uajJxeCIsImt1YmVybmV0ZXMuaW8vc2VydmljZWFjY291bnQvc2VydmljZS1hY2NvdW50Lm5hbWUiOiJzaW1wbGUtdXNlciIsImt1YmVybmV0ZXMuaW8vc2VydmljZWFjY291bnQvc2VydmljZS1hY2NvdW50LnVpZCI6IjBhMDhmZWMzLWM4ZGMtNGVjMi1hZTg3LWJiMWZmNTNiMDFjMyIsInN1YiI6InN5c3RlbTpzZXJ2aWNlYWNjb3VudDprdWJlcm5ldGVzLWRhc2hib2FyZDpzaW1wbGUtdXNlciJ9.jbbY-5fzz7Sh7ogyxh1-mwvrRo_ybLeSfh8-6gnhe2TQt63DE0BWJ2P8YNmvq5EZsdLpMhta1tPj7YJpvqEDR0ppF0LmLd5BXL4SnN13SeMsYRe8w1NLO3M0hhDt9znzZvos5EhKFrOzI-REbObVg7H8W4c69TxVEb-GGBfQkSFjkGW3vqMibRYIQubvC563Cfc337ROJ5IMc6OIrgzVI4WR7v2gHJyzH3gzBx8Hs2NXqATdsYl6qWUKu-i9_4jKSkJxhtn1nzCdSHTs6t1TEQ-xKjwPNDrtcwvlNp-GwE0m2oYl-l9IH0okS97wdVqJmmNDHmddDXxBf-WrE2ShVQ
ca.crt:     1103 bytes
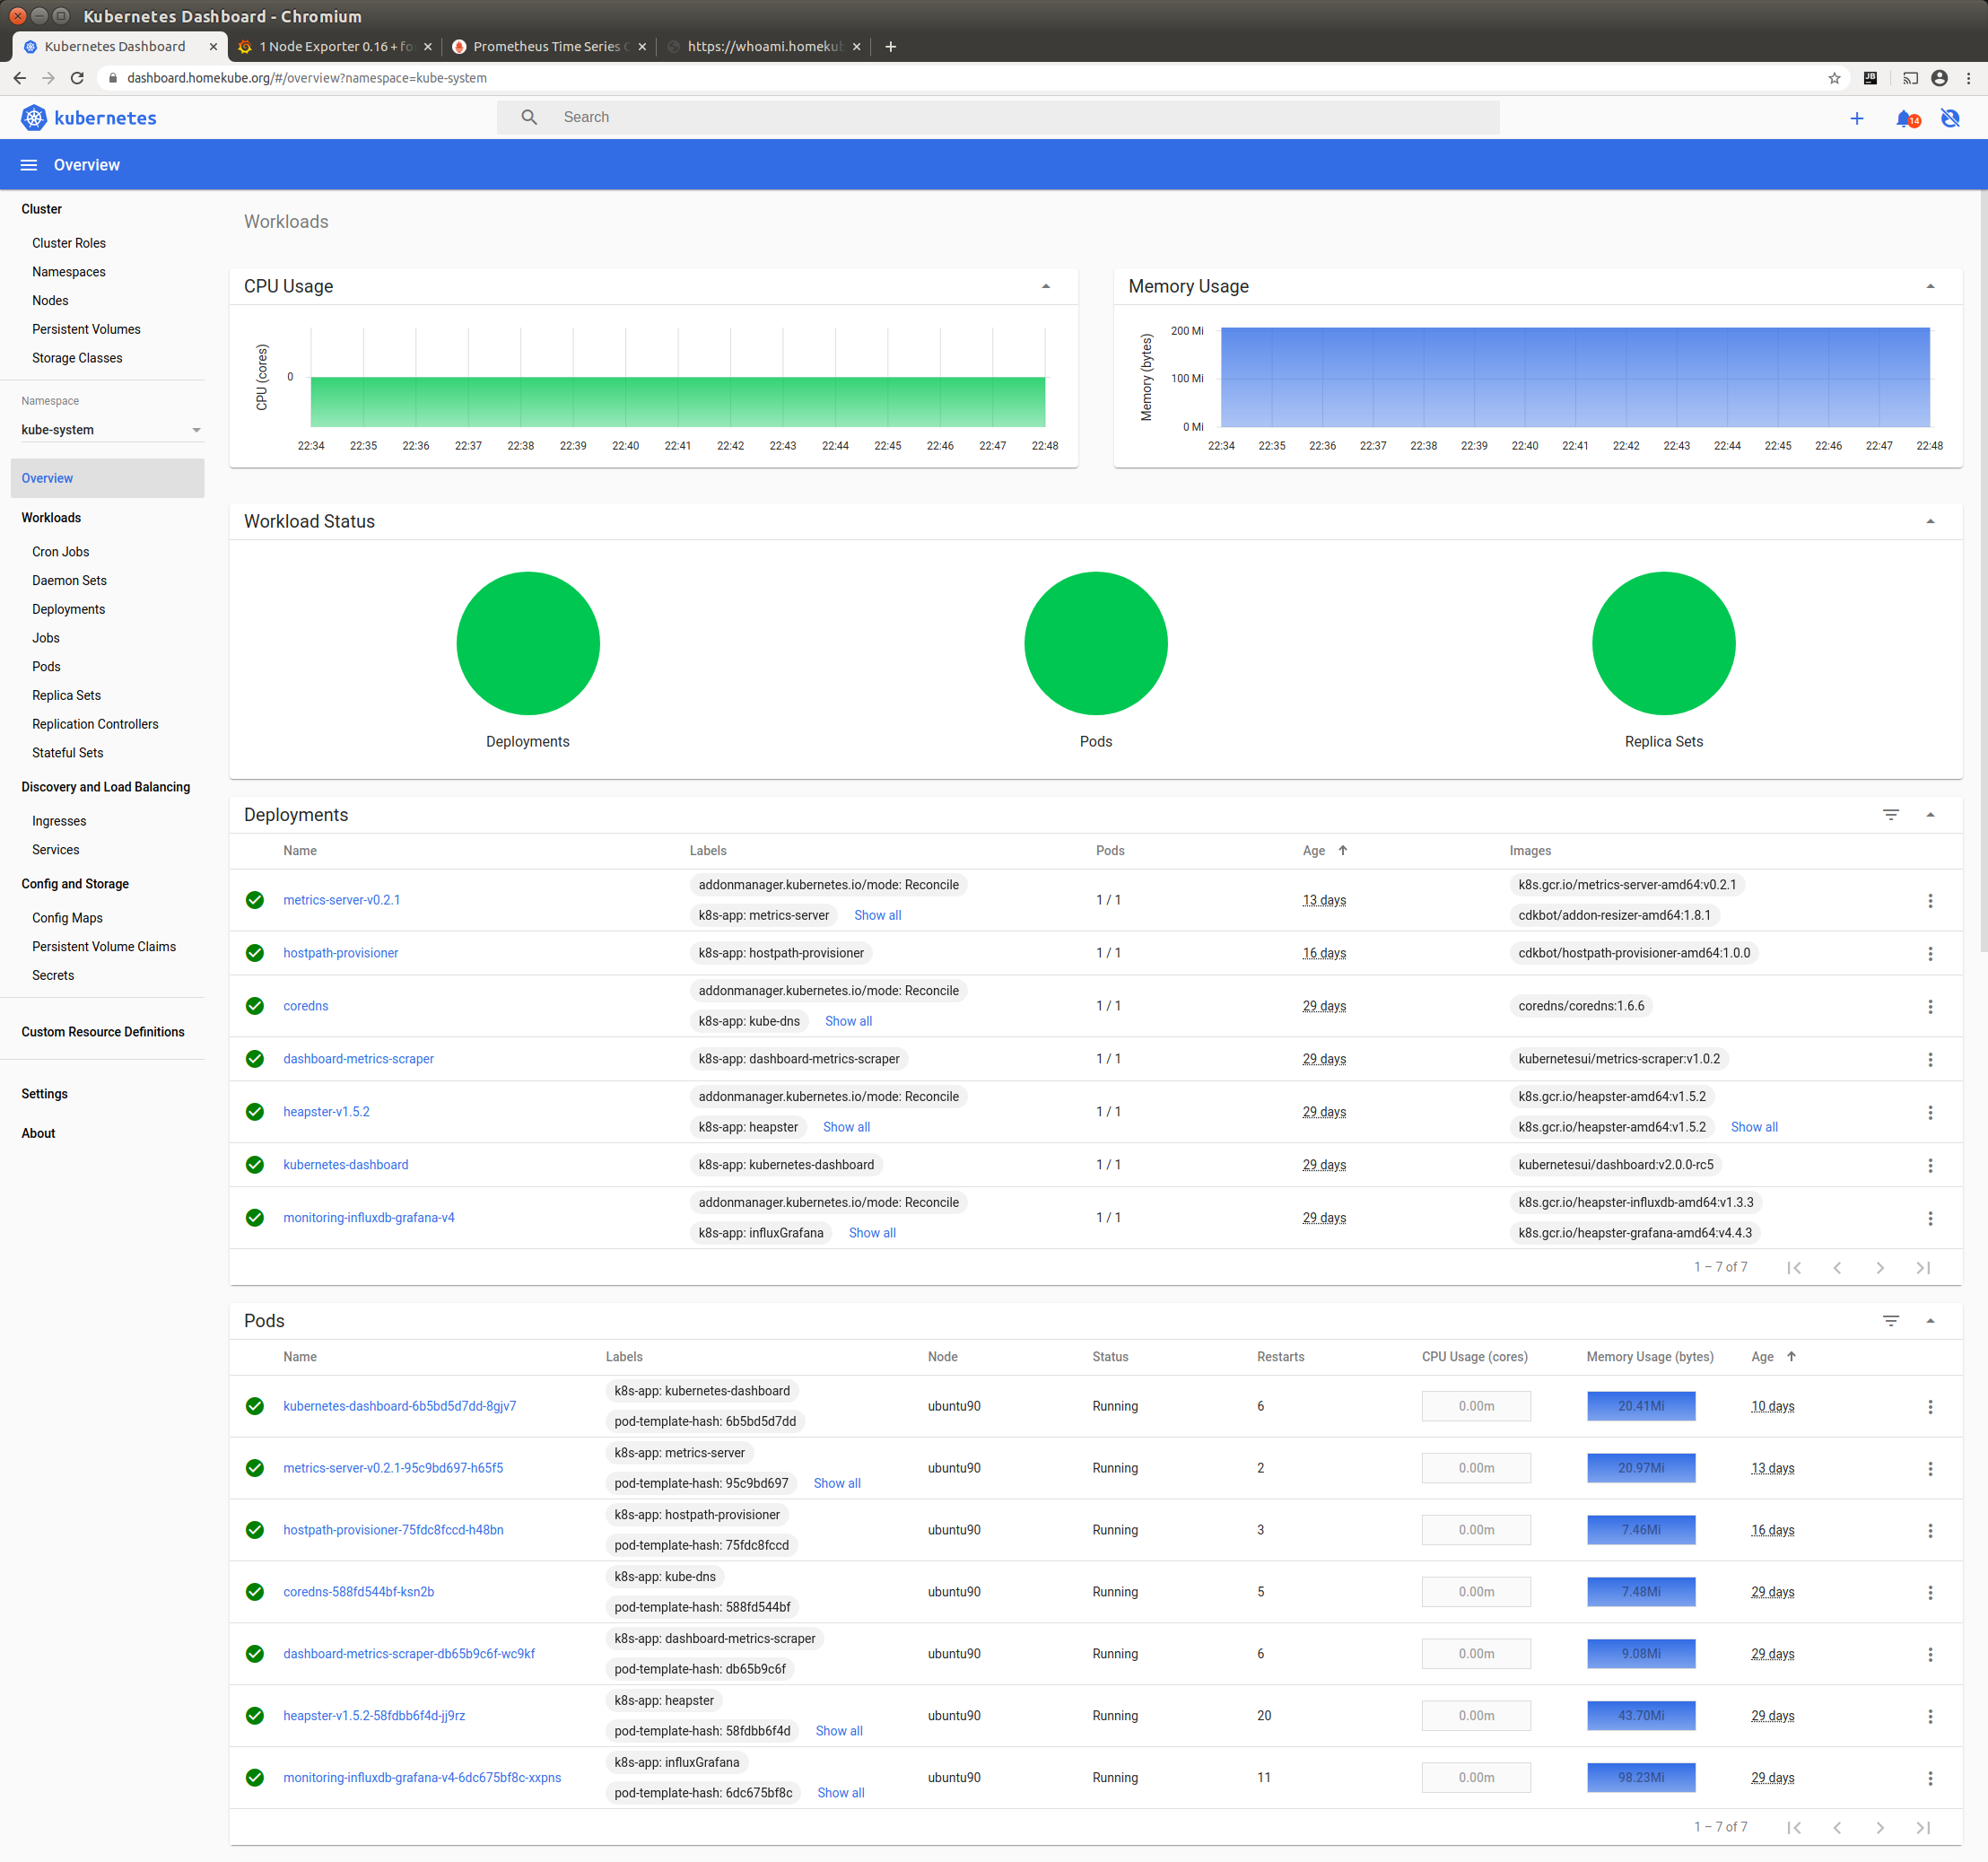
Congrats !! The dashboard is up and running and exposed as a service !!
Now try the other token that we created for simple-user as well. The simple user has restricted rights. For example
he can’t view any secrets.
If you want to repeat the steps as an exercise
cleanup first.
Next steps
Lets improve the dashboard access via
Ingress.
Tutorials

 24:23 Install Kubernetes Dashboard Web UI
Short introduction on how to use the ui (from ~min 16)
[Just me and Opensource]