Keycloak Identity and Access Management
A SSO (Single Sign On) solution to safeguard all apps.
Keycloak Online configuration
Keycloak installation needs to be completed.
As long as our installation is incomplete we will access Keycloak in our local network. Port-forward is just a temporary solution during configuration. When the session is terminated the port is no longer accessible.
kubectl port-forward -n keycloak service/keycloak 8080:8080 --address 0.0.0.0
In the local browser open http://192.168.1.100:8080 and login with
username: admin
password: ${HOMEKUBE_KEYCLOAK_PASSWORD} (default is s3cr3t)
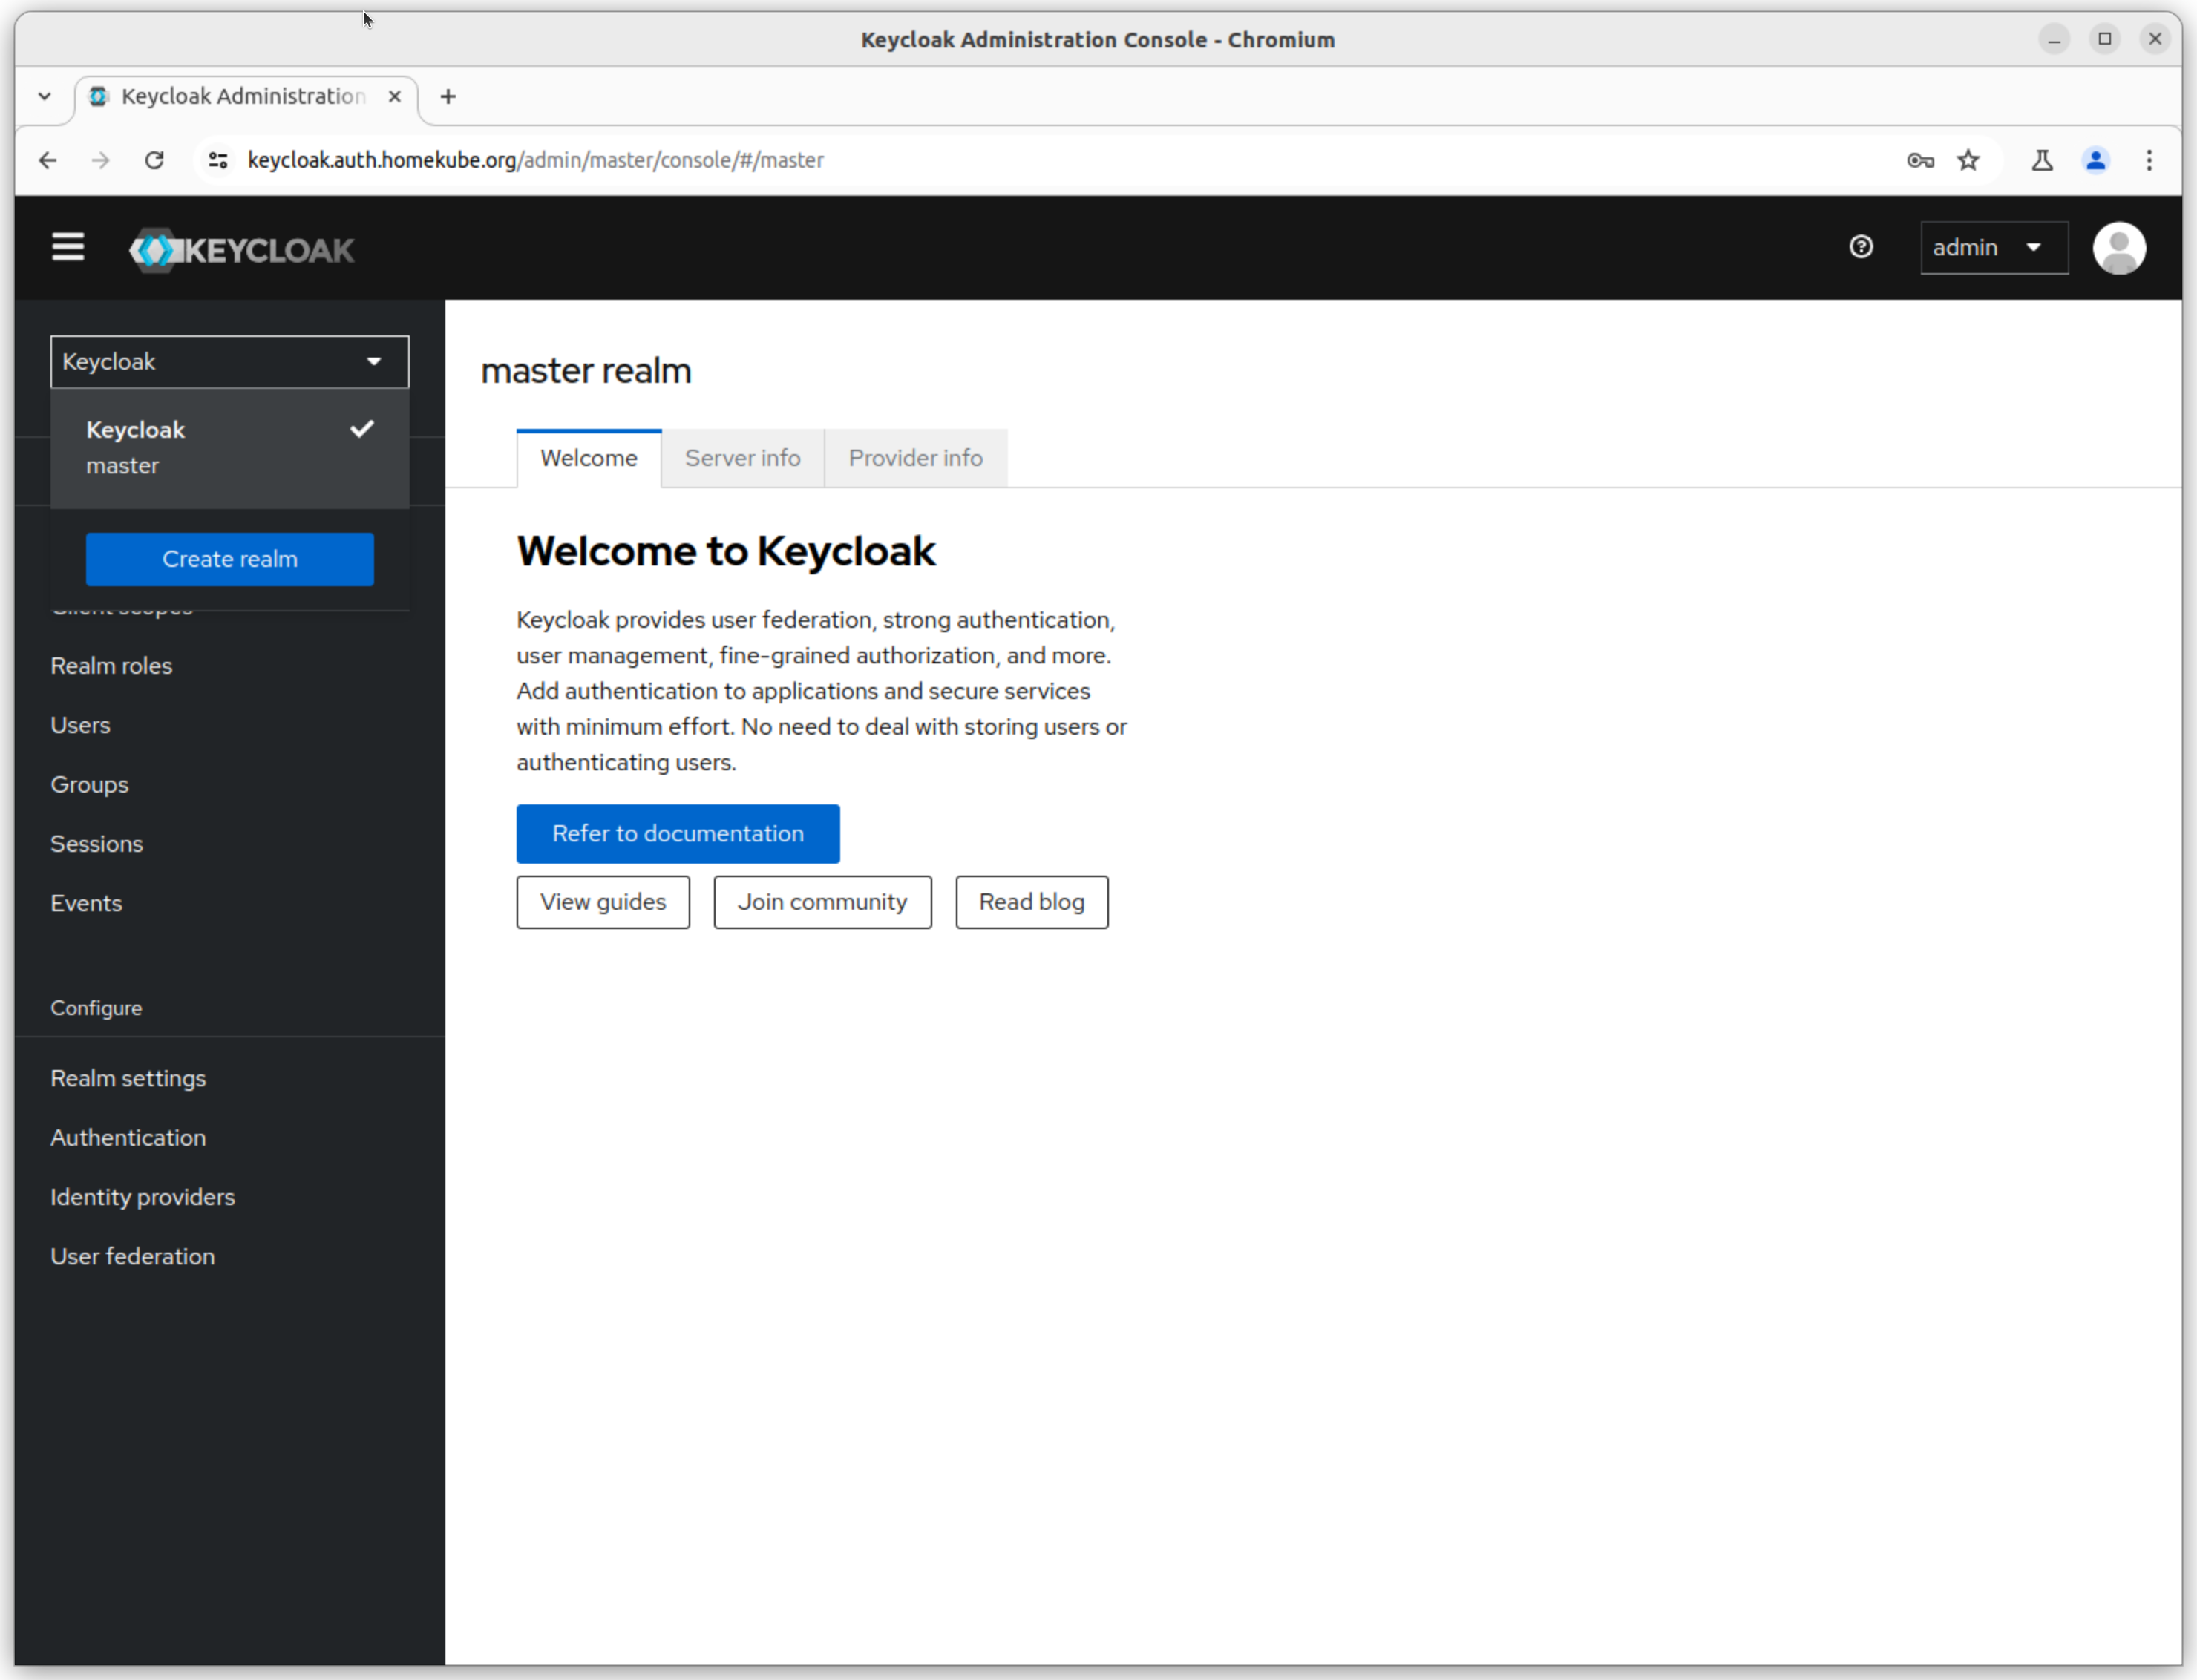
Create a realm for homekube
Why creating a realm ? Realms in terms of Keycloak wording are fully seperated configuration areas. This tutorial will guide through all the required configuration steps.
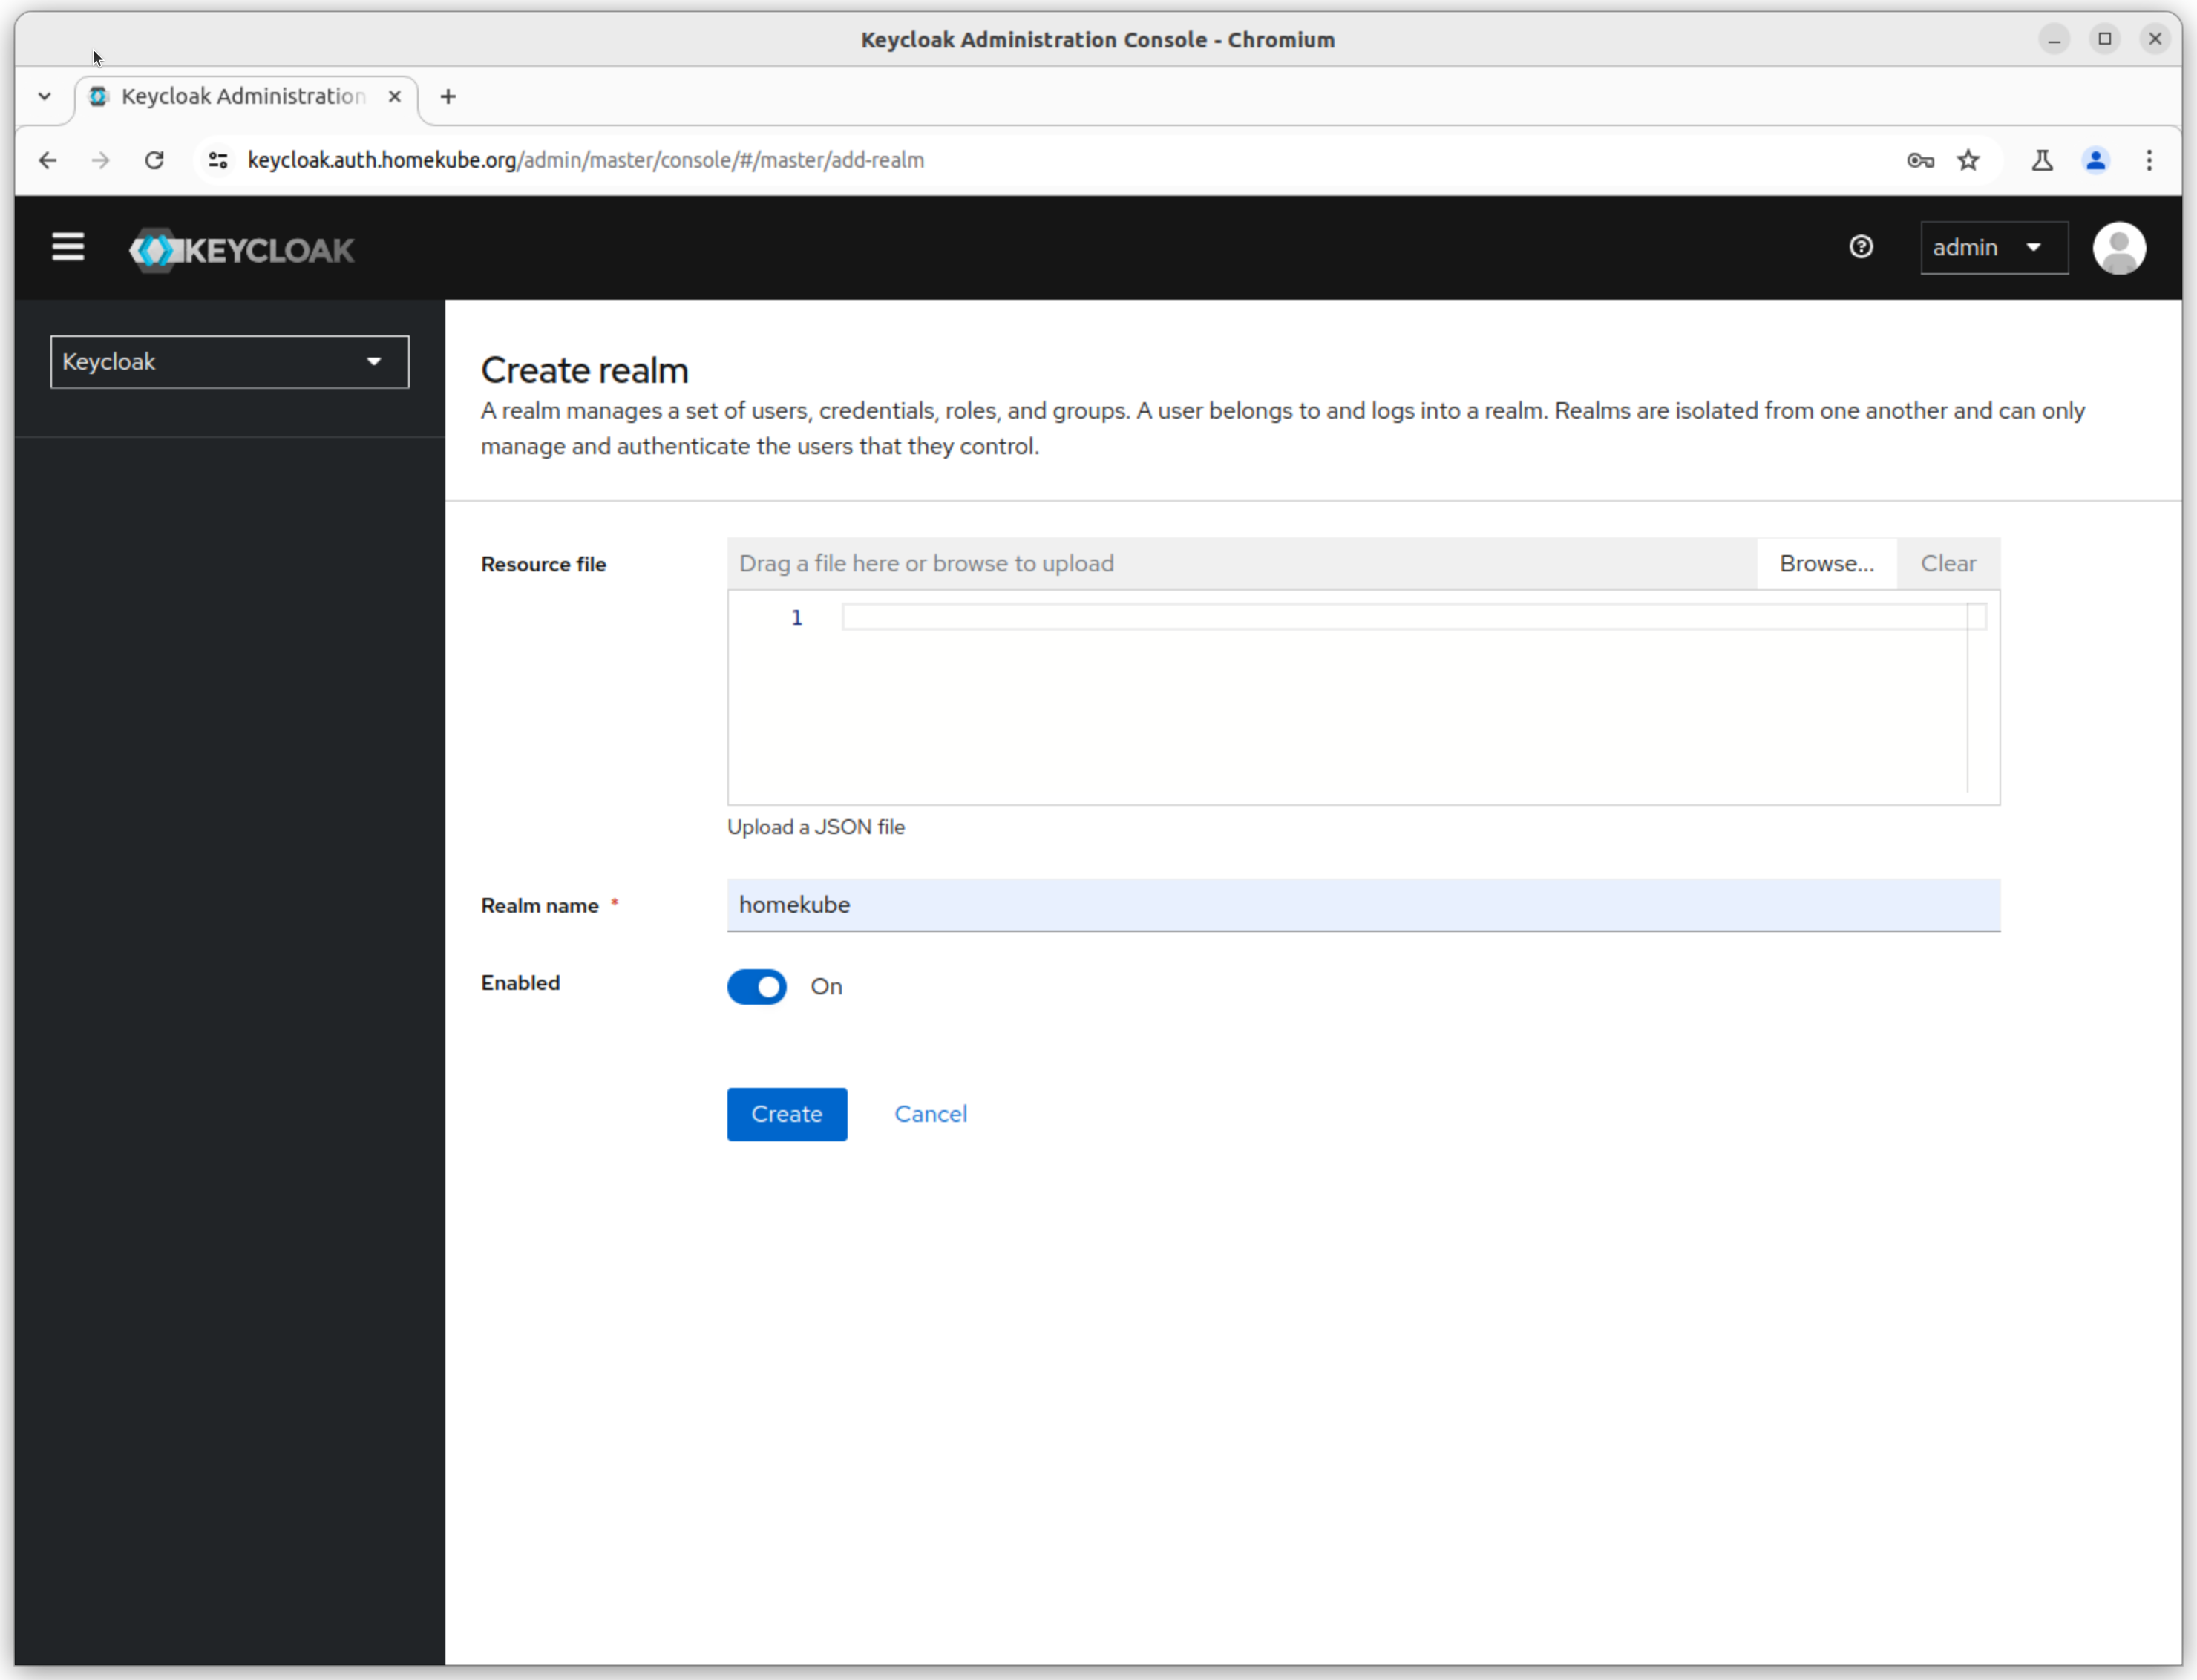
Click on the Create realm button top left
The realm name should be lower case e.g. homekube. Then click Create
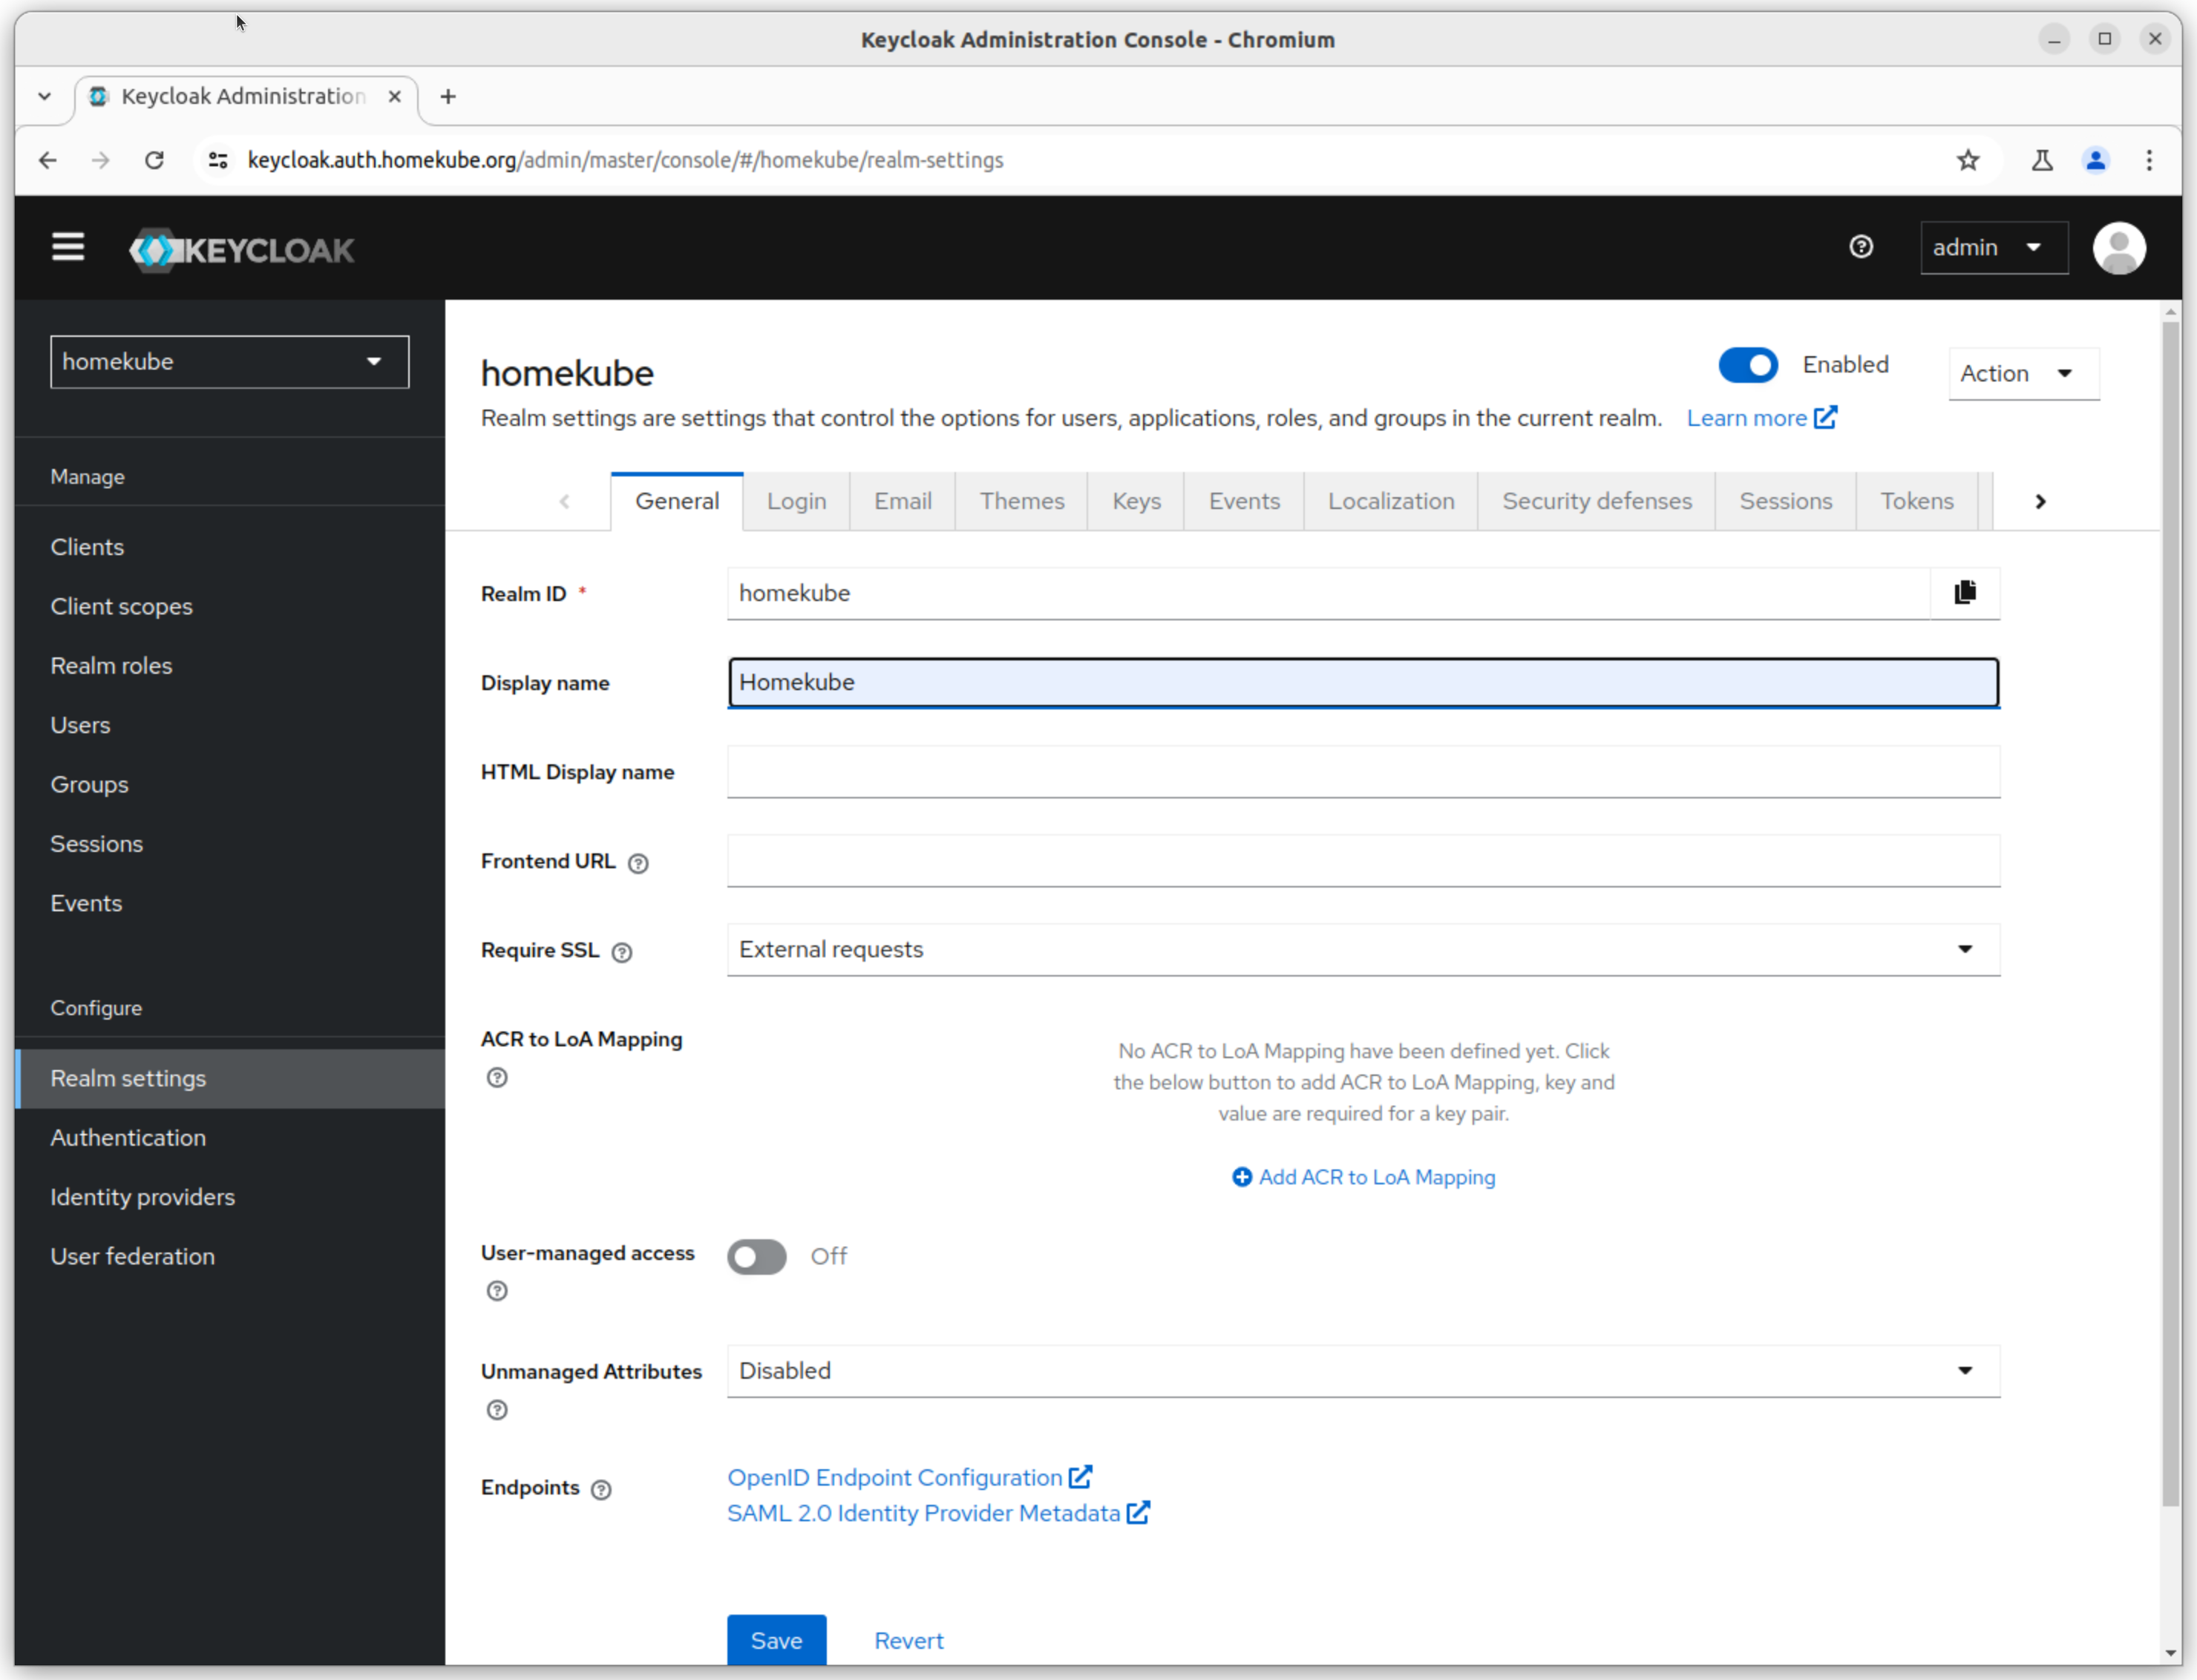
Go to the newly created realms settings page under General tab
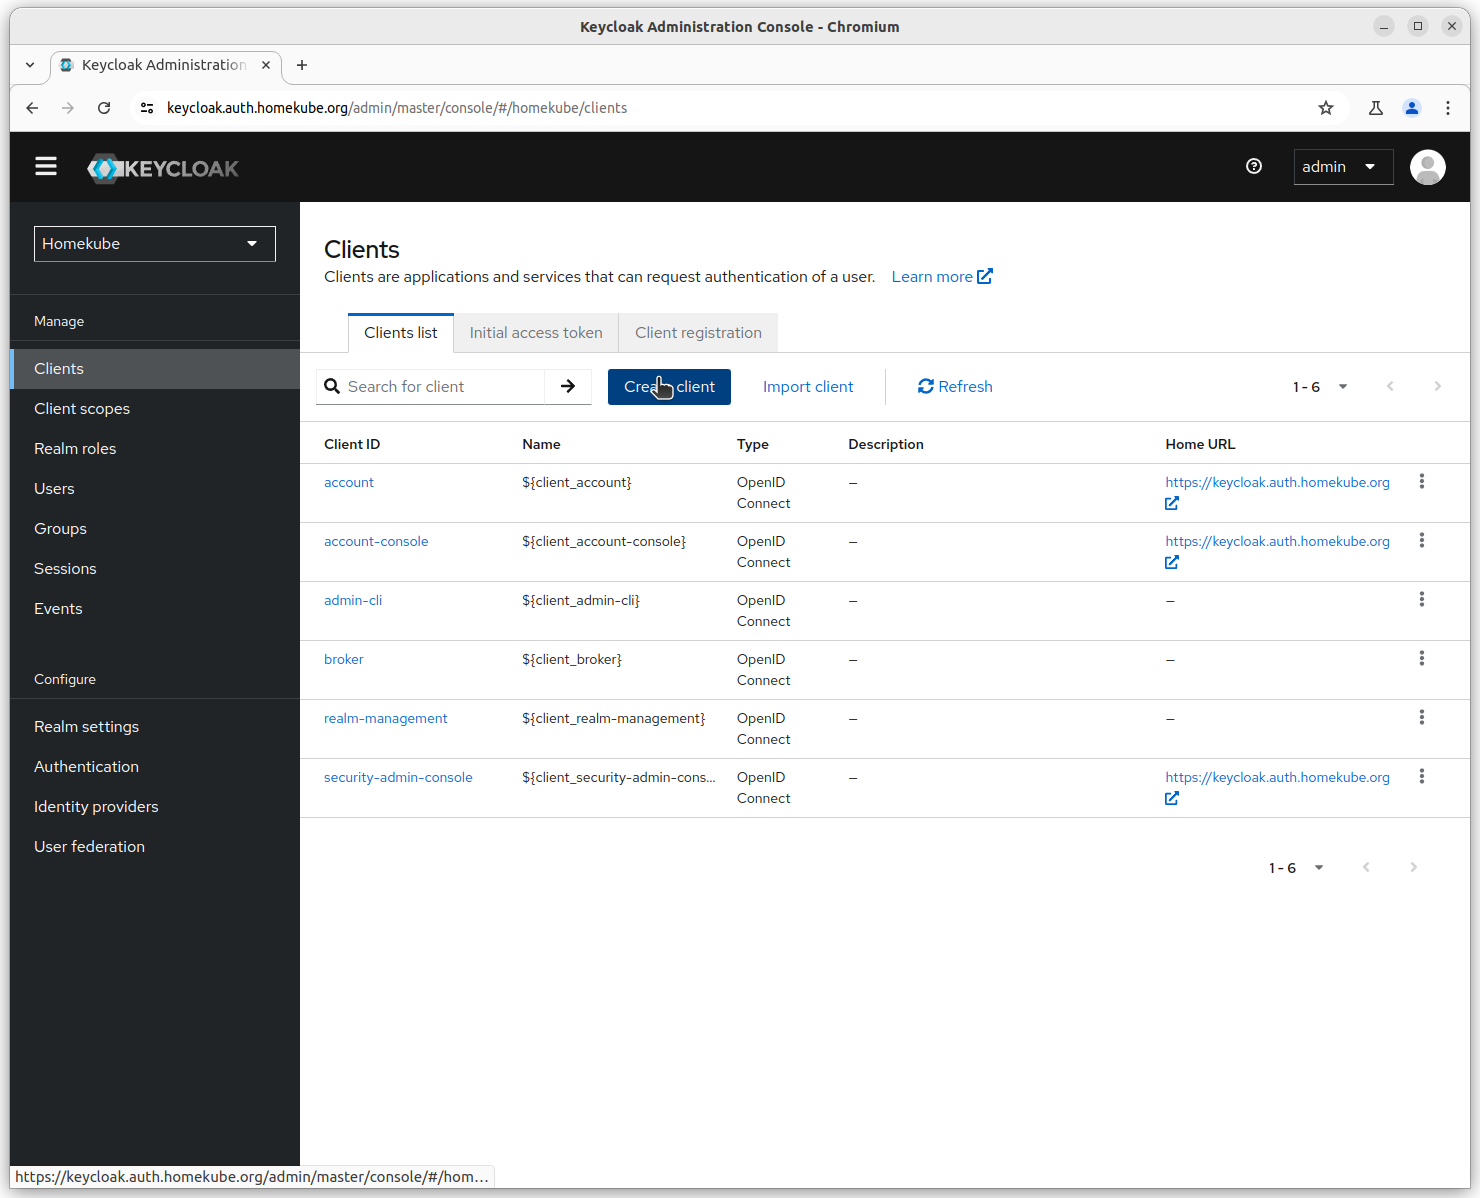
Create a client for homekube
This client is the service that other apps are talking to when they request user authentication.
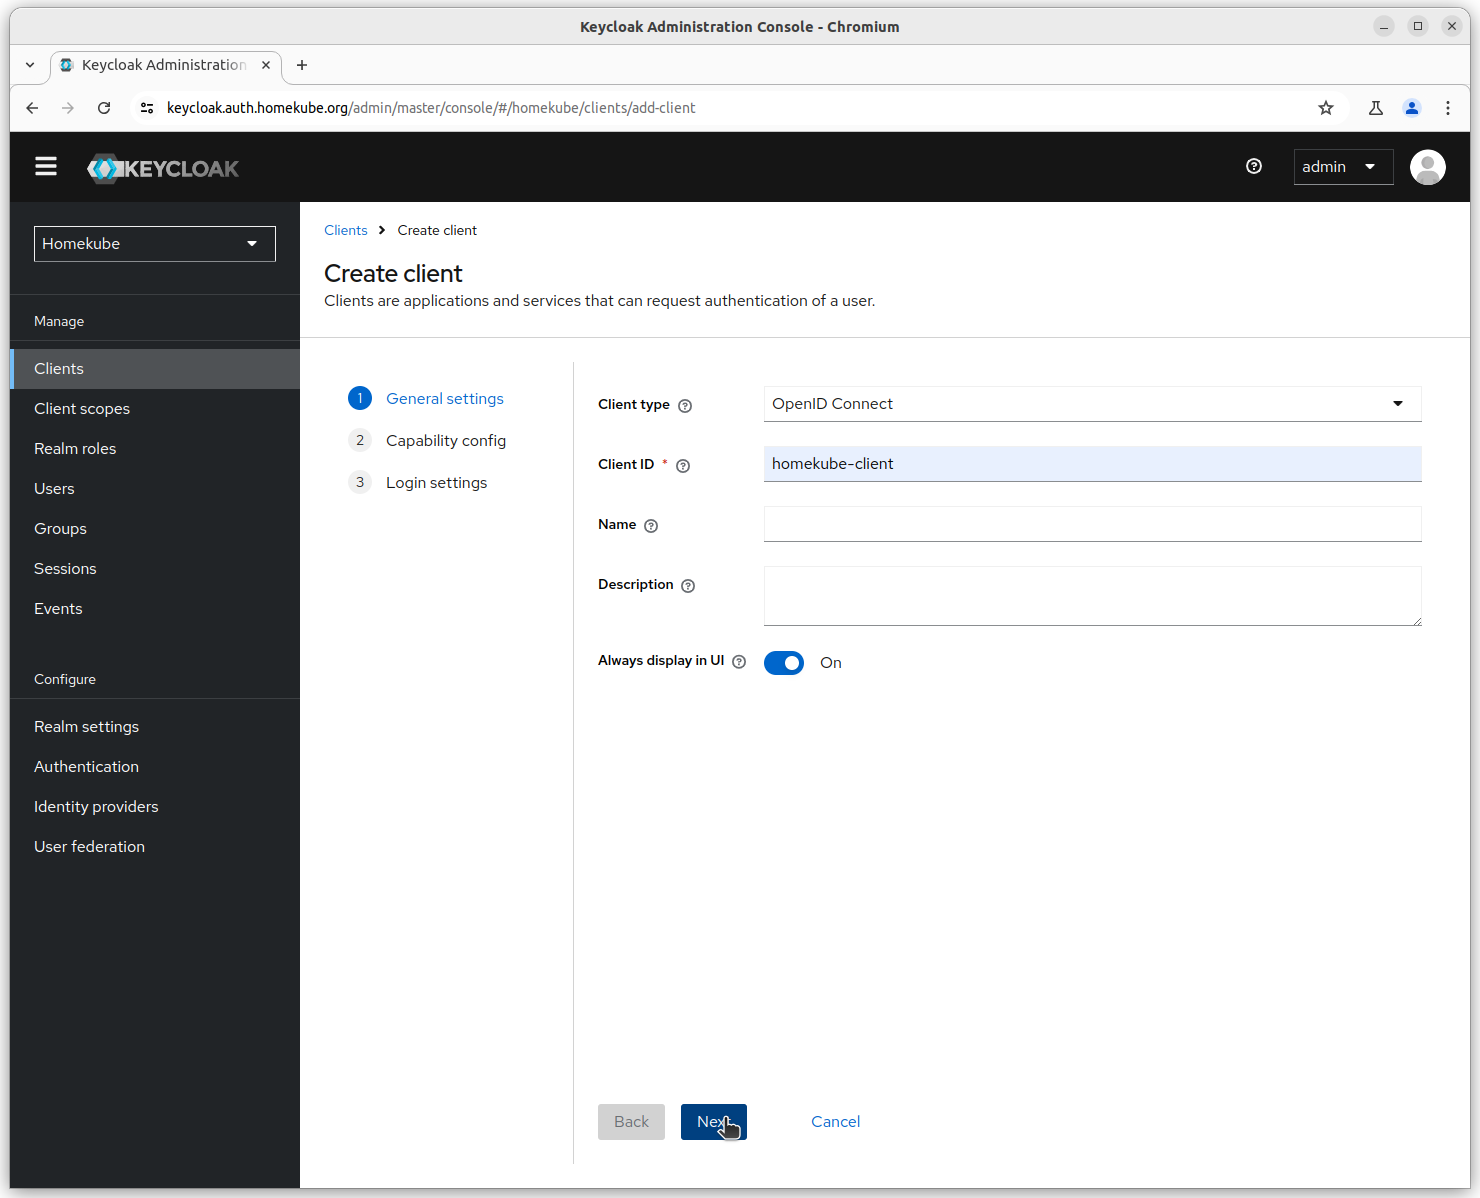
Step 1
Enter the Client ID. All apps / services that request authentication must be configured to talk to this client. The ${HOMEKUBE_OIDC_CLIENT_ID} is a reference to this client.
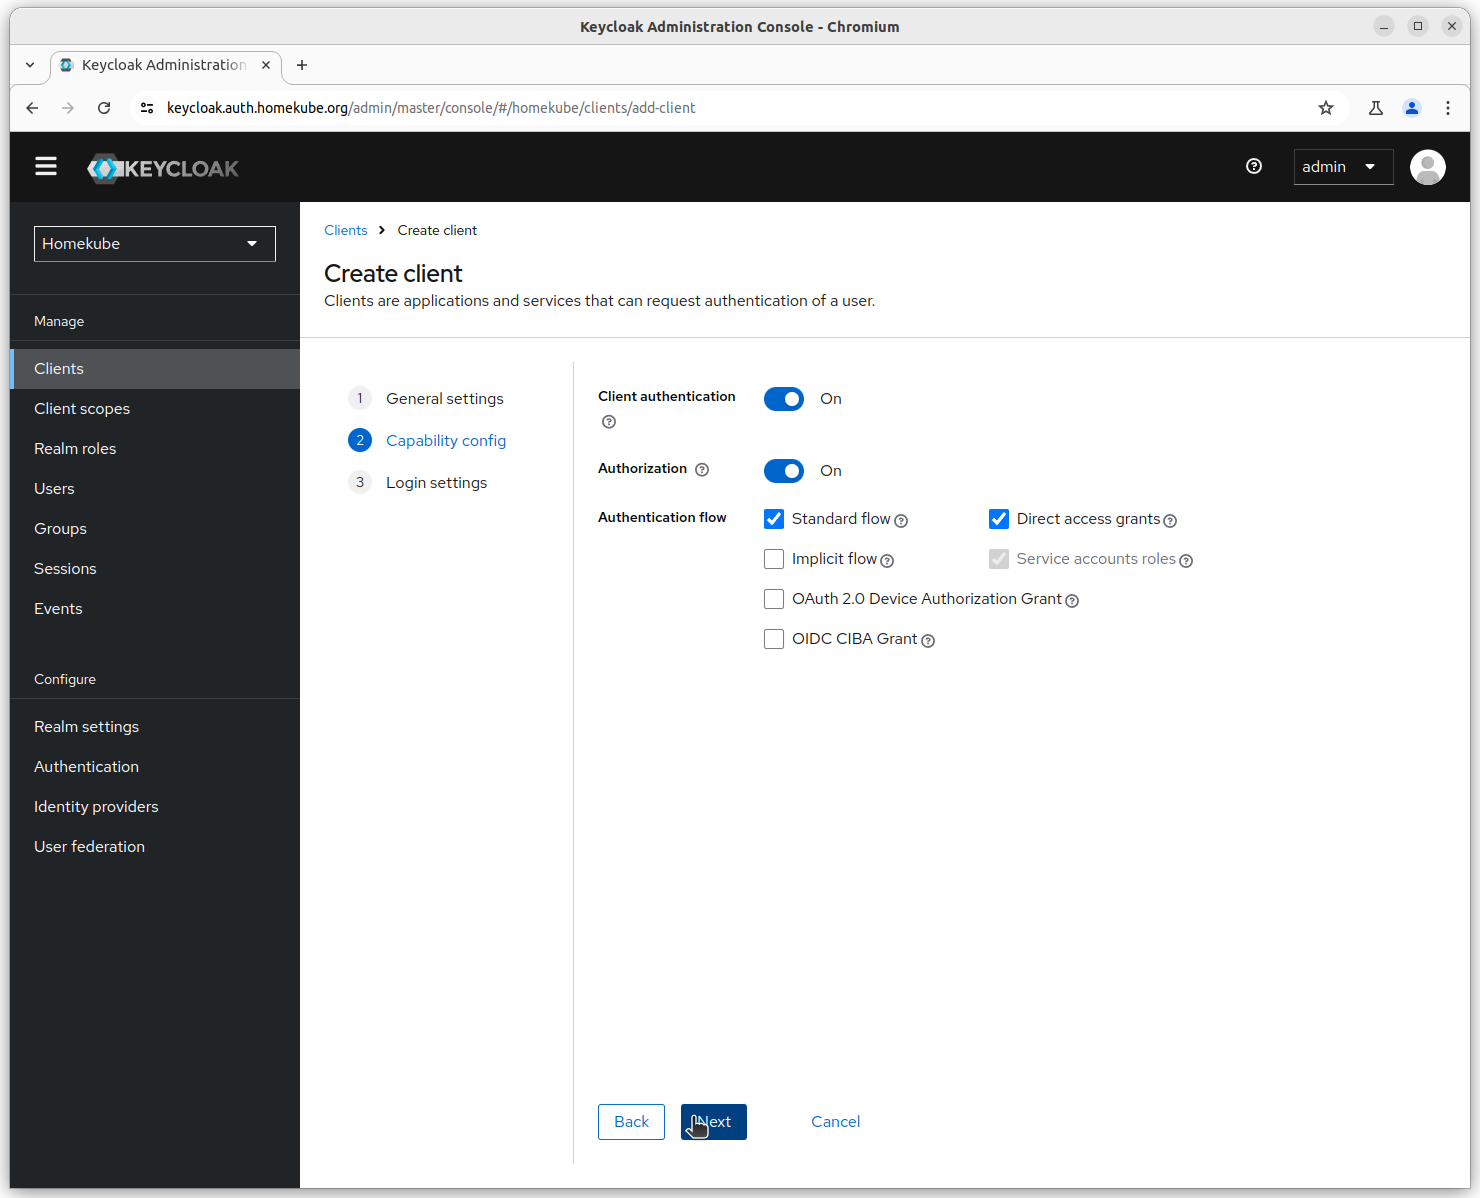
Step 2
Enable authentication and authorization and authentication flow is Standard flow and Direct access grants.
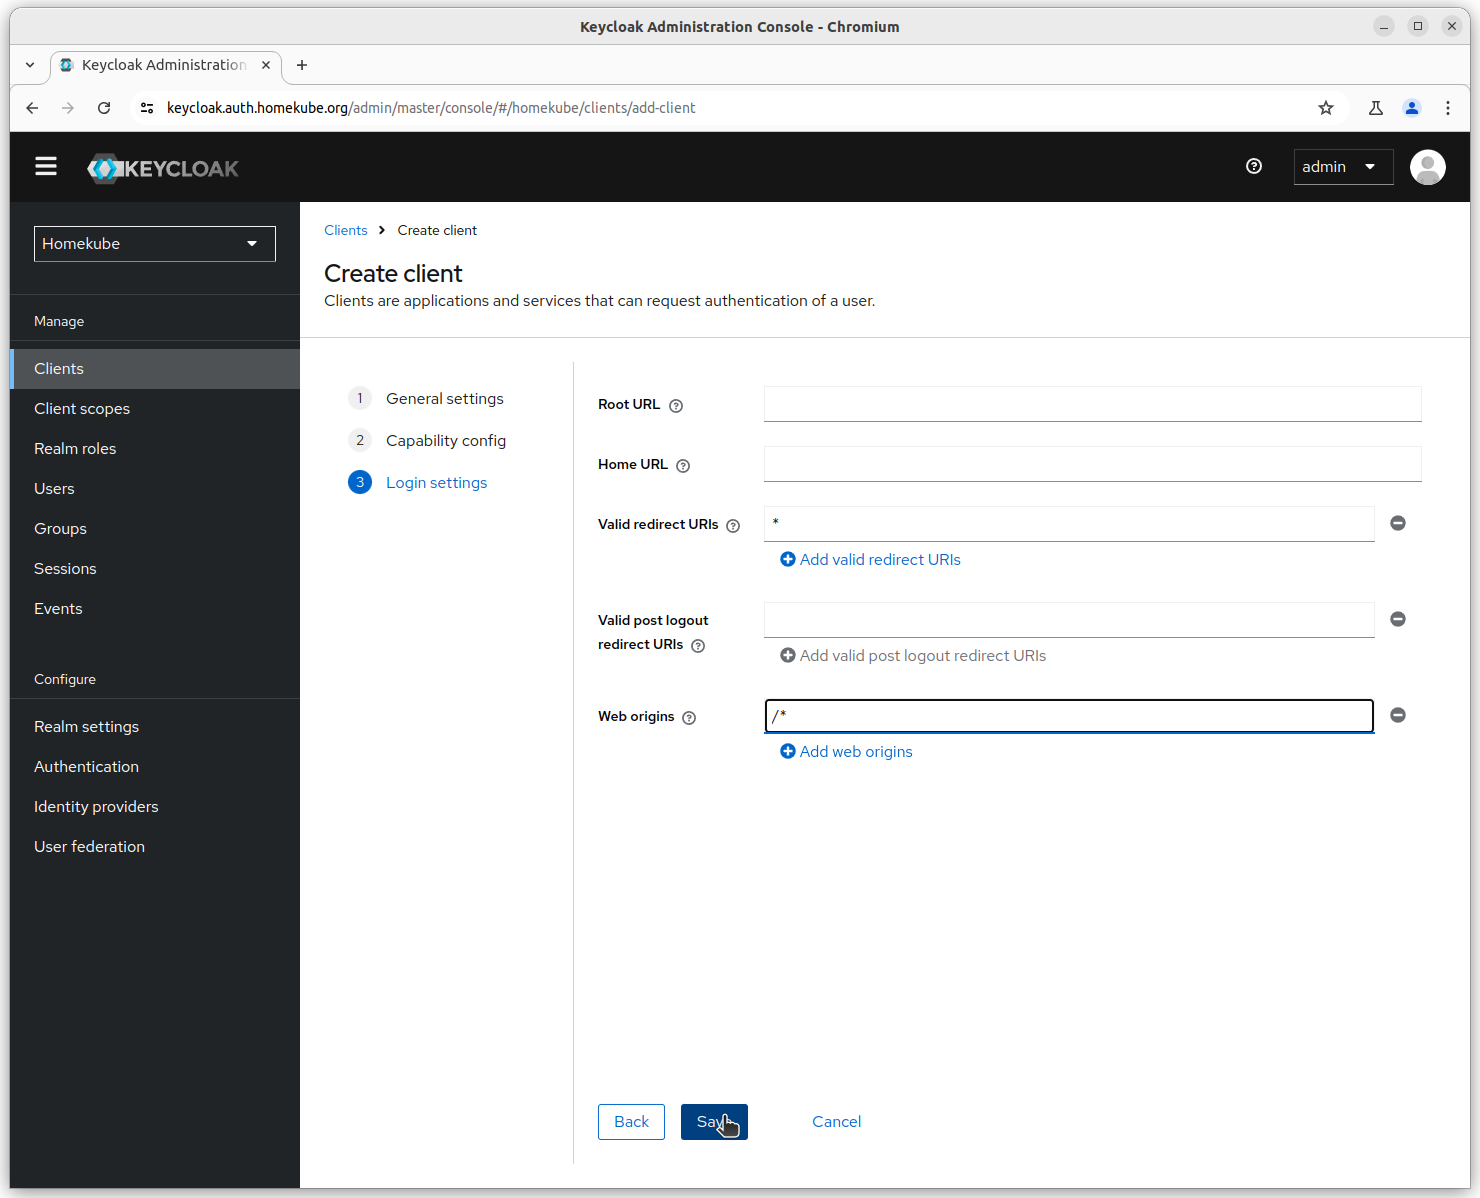
Step 3
Allowing all redirect urls for simplicity and Web origins.
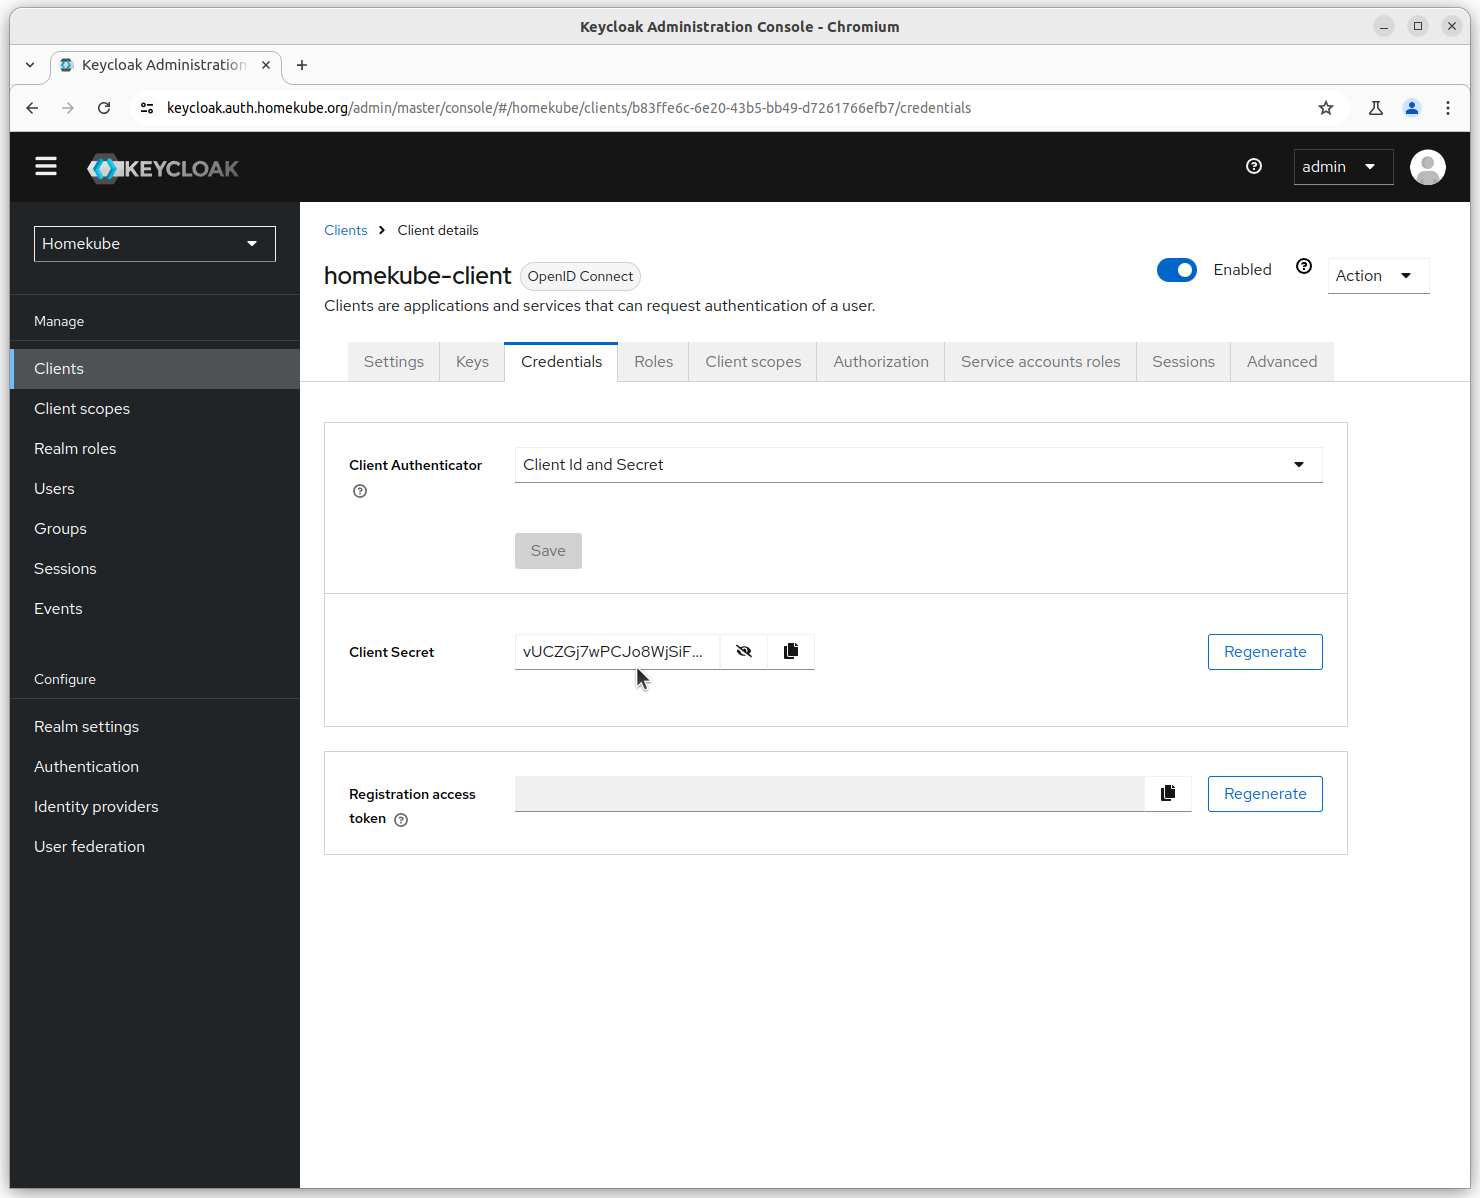
Finish client setup
Select the newly created homekube-client from the list and finsh the setup. The important part is
the client secret. This is generated by keycloak and needs to be copied into the ${HOMEKUBE_OAUTH2_CLIENT_SECRET} of your environment vars file.
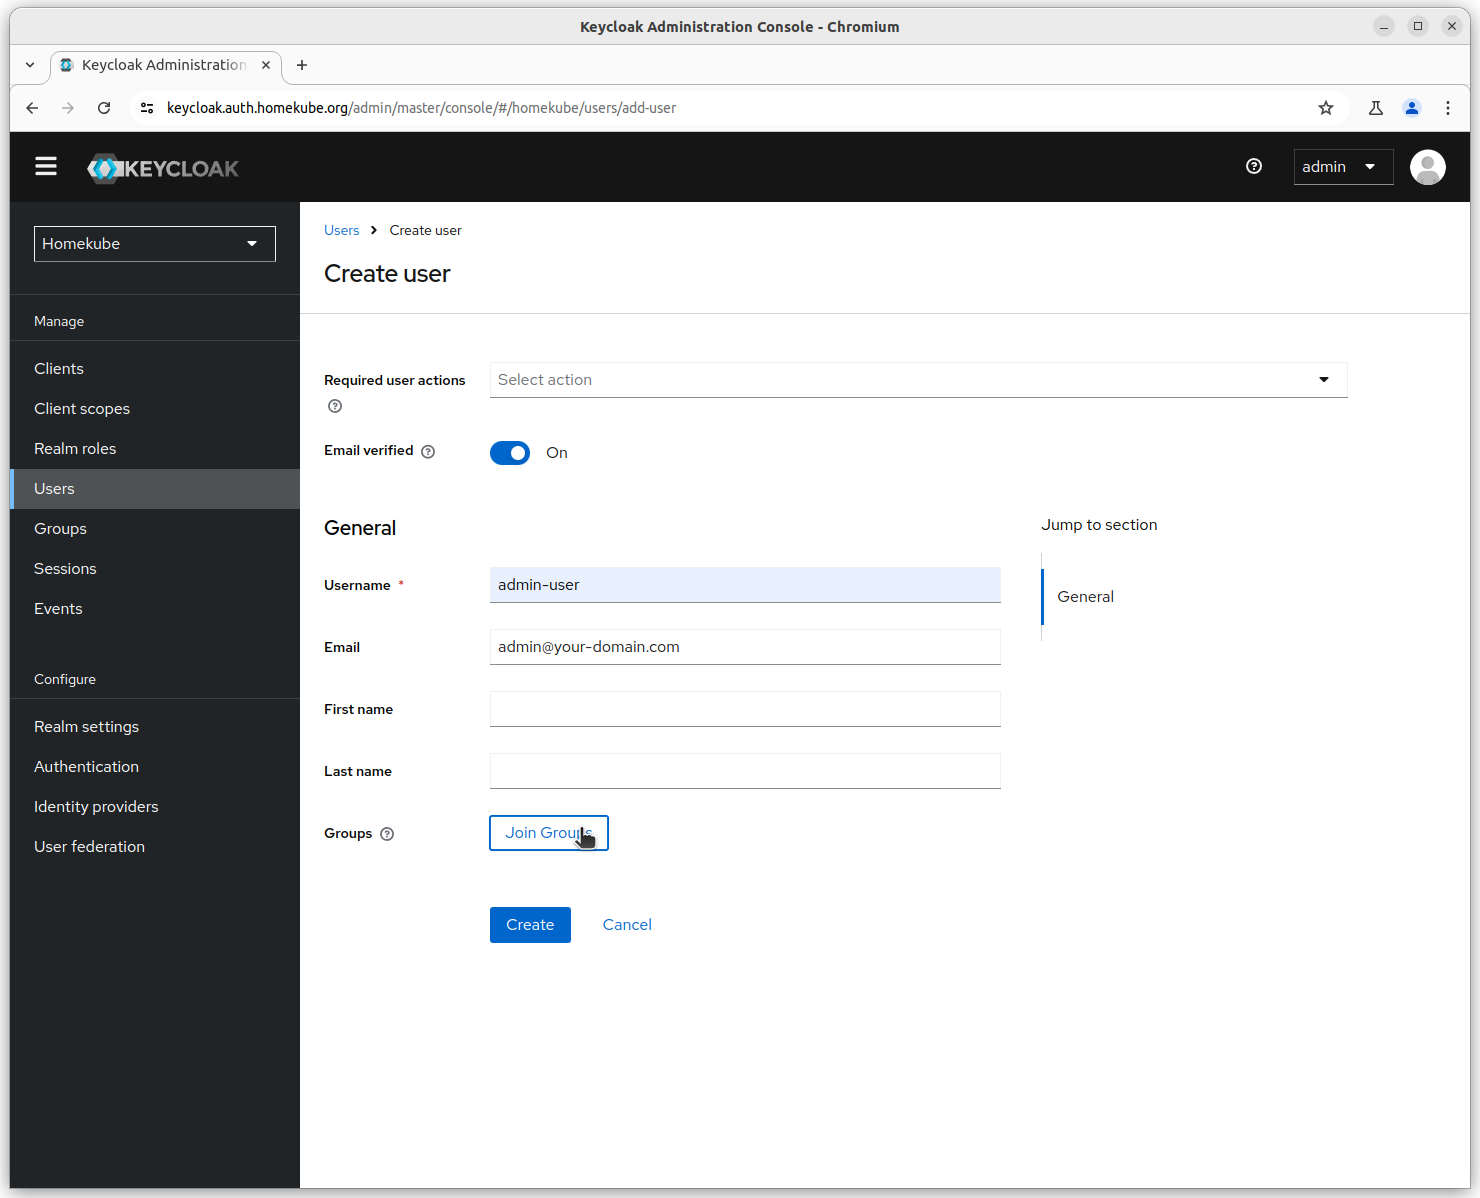
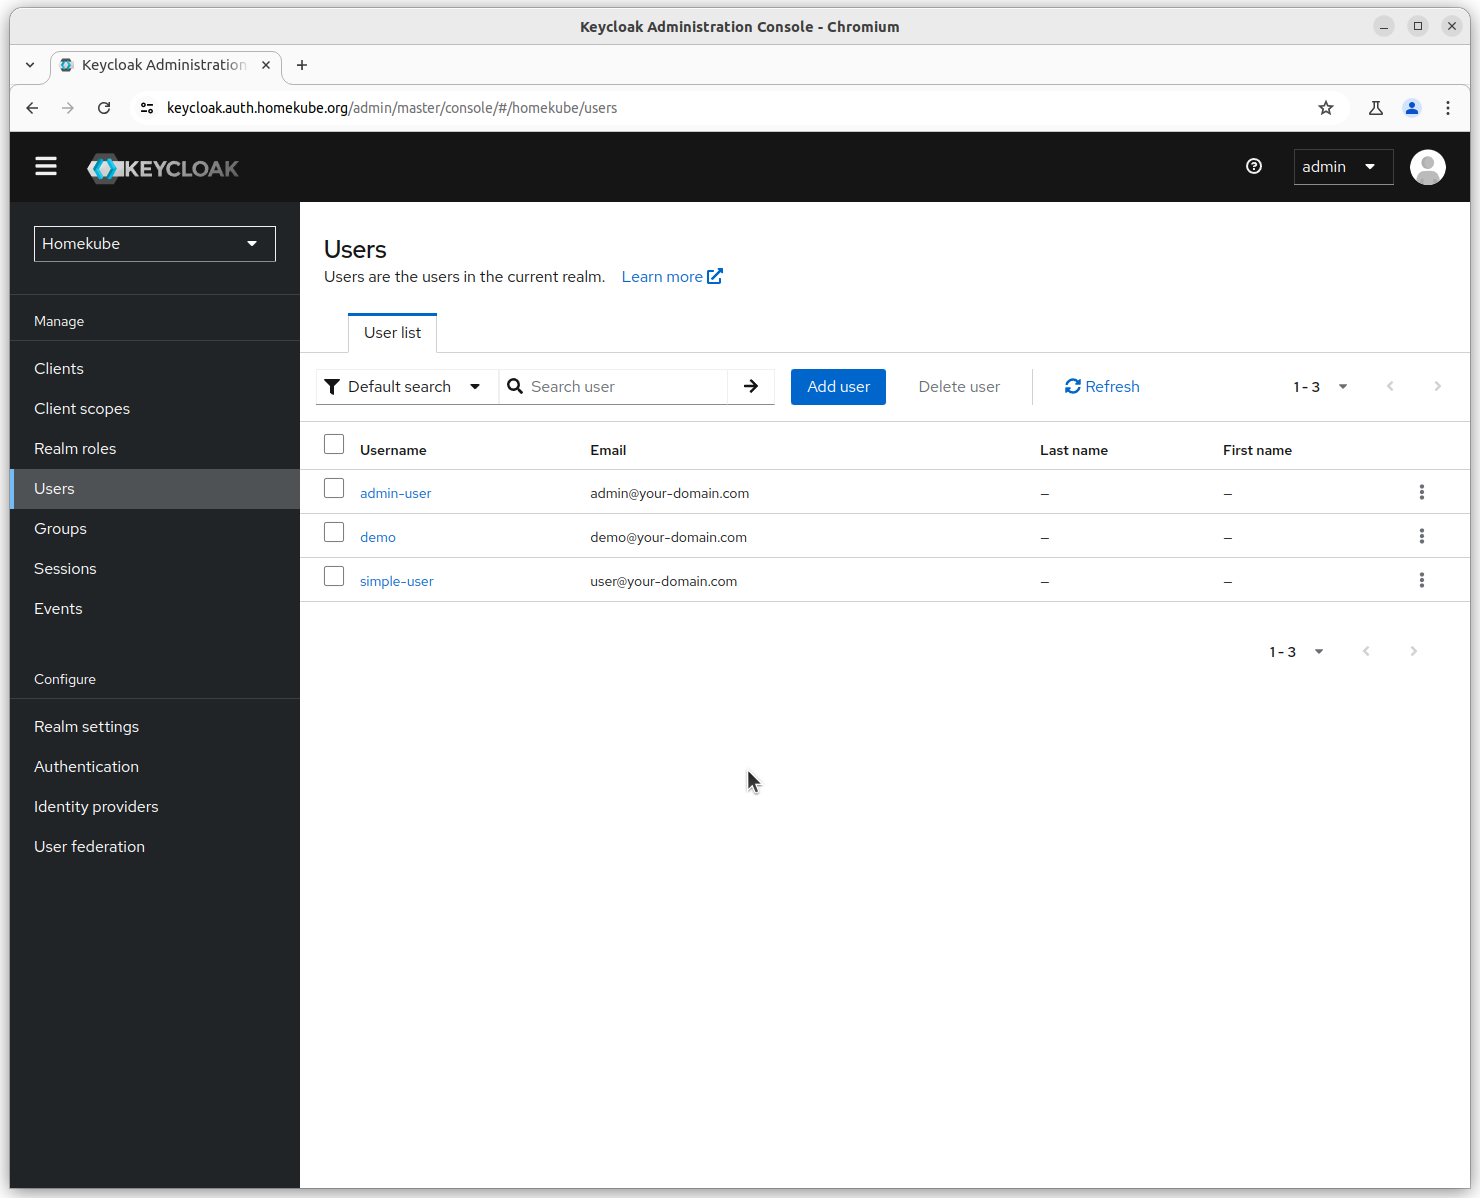
Creating users
- admin-user will be granted all permissions to create/read/update/delete any objects of the installation. Its password MUST be kept secret for obvious reasons.
- simple-user will be granted read permissions on most objects.
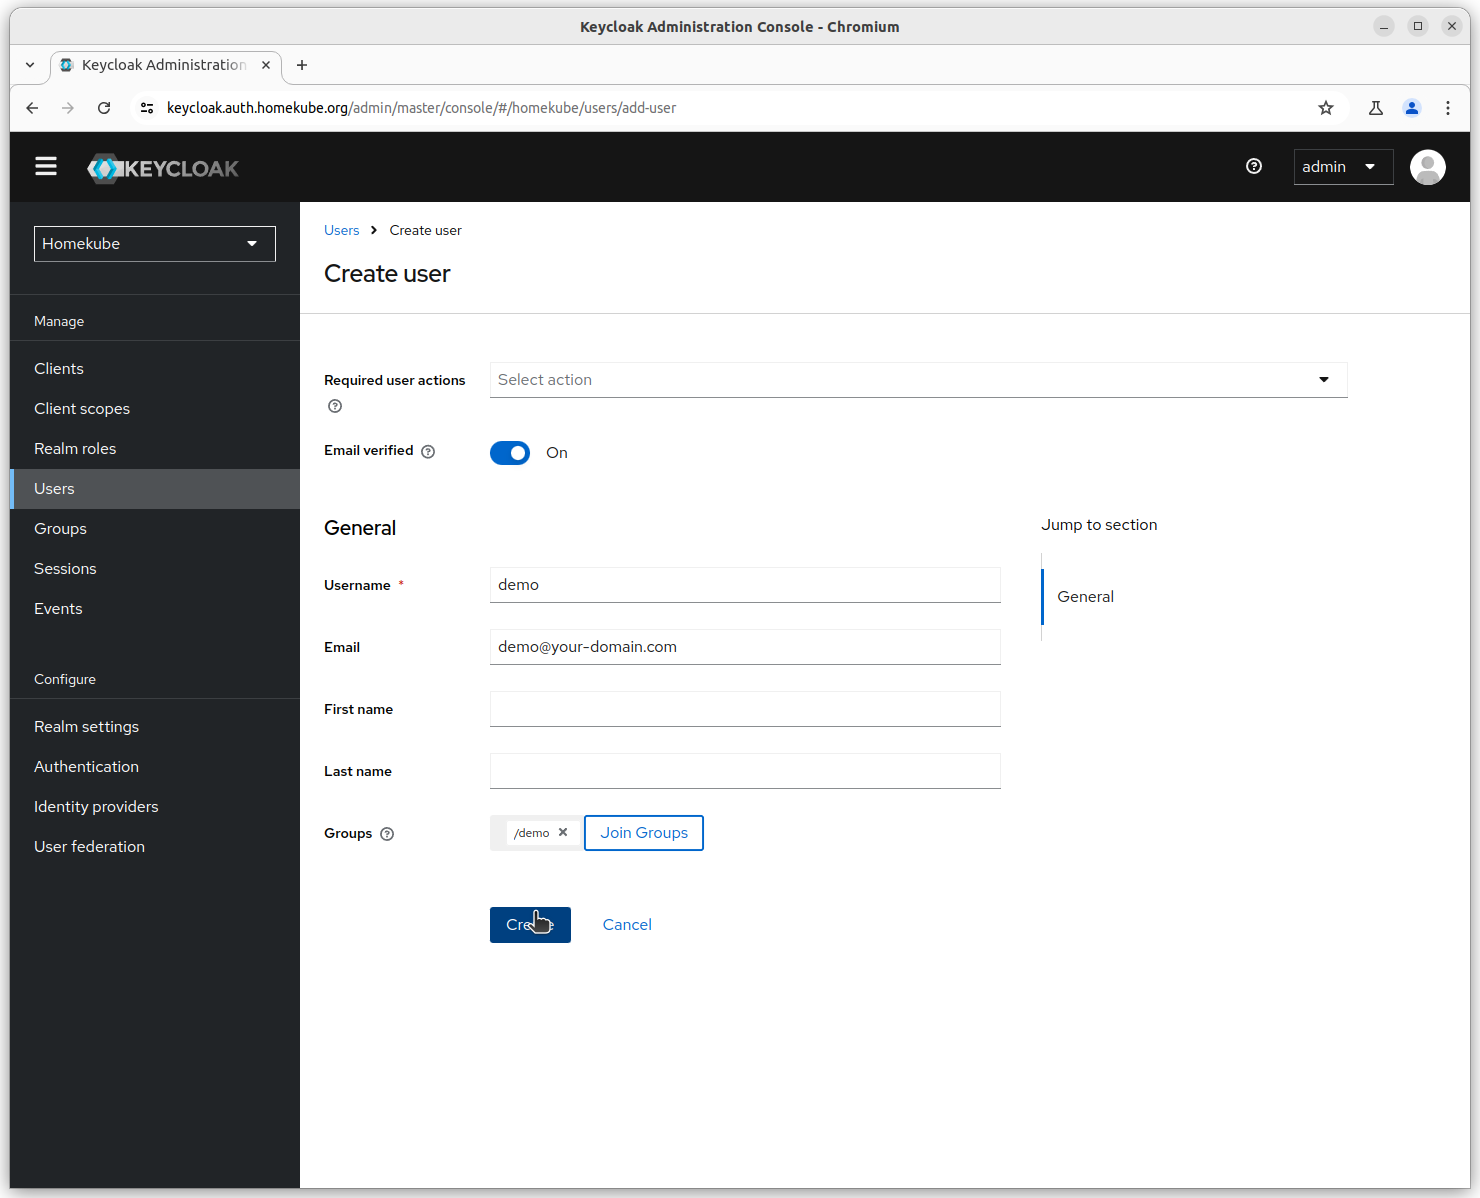
- demo will be allowed to see namespaces and pods and logs.
Users credentials will be set later.
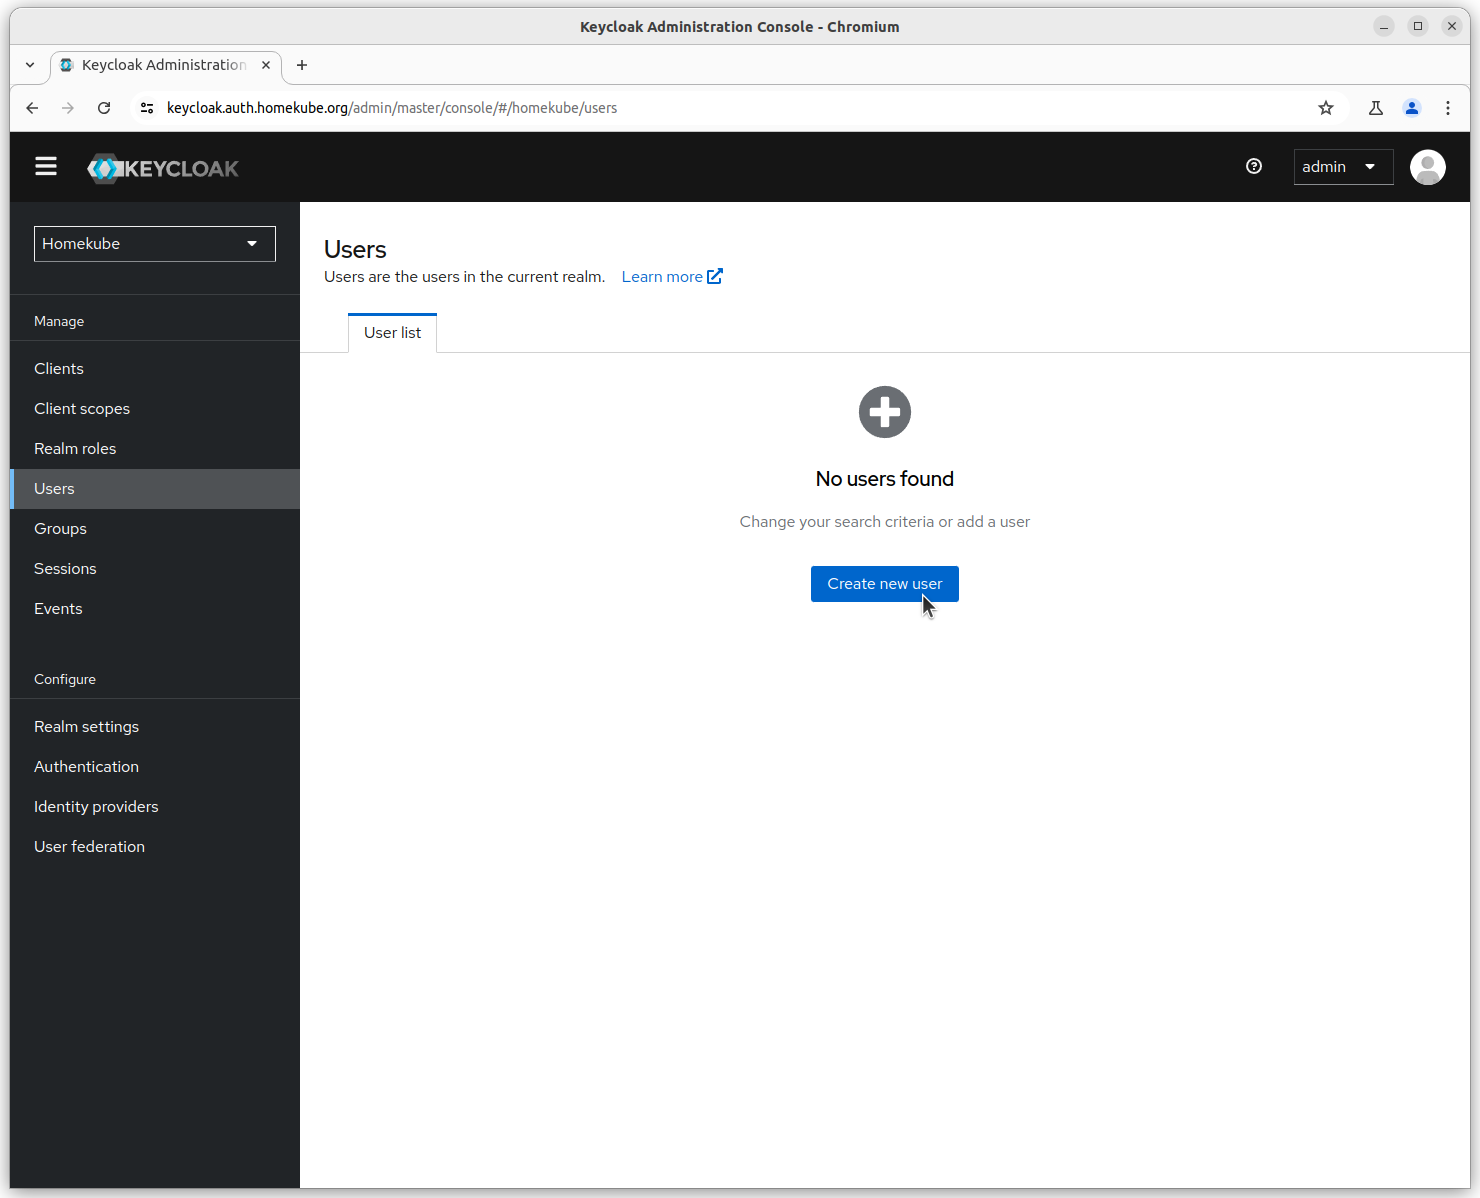
Repeat this step for the 3 users above.
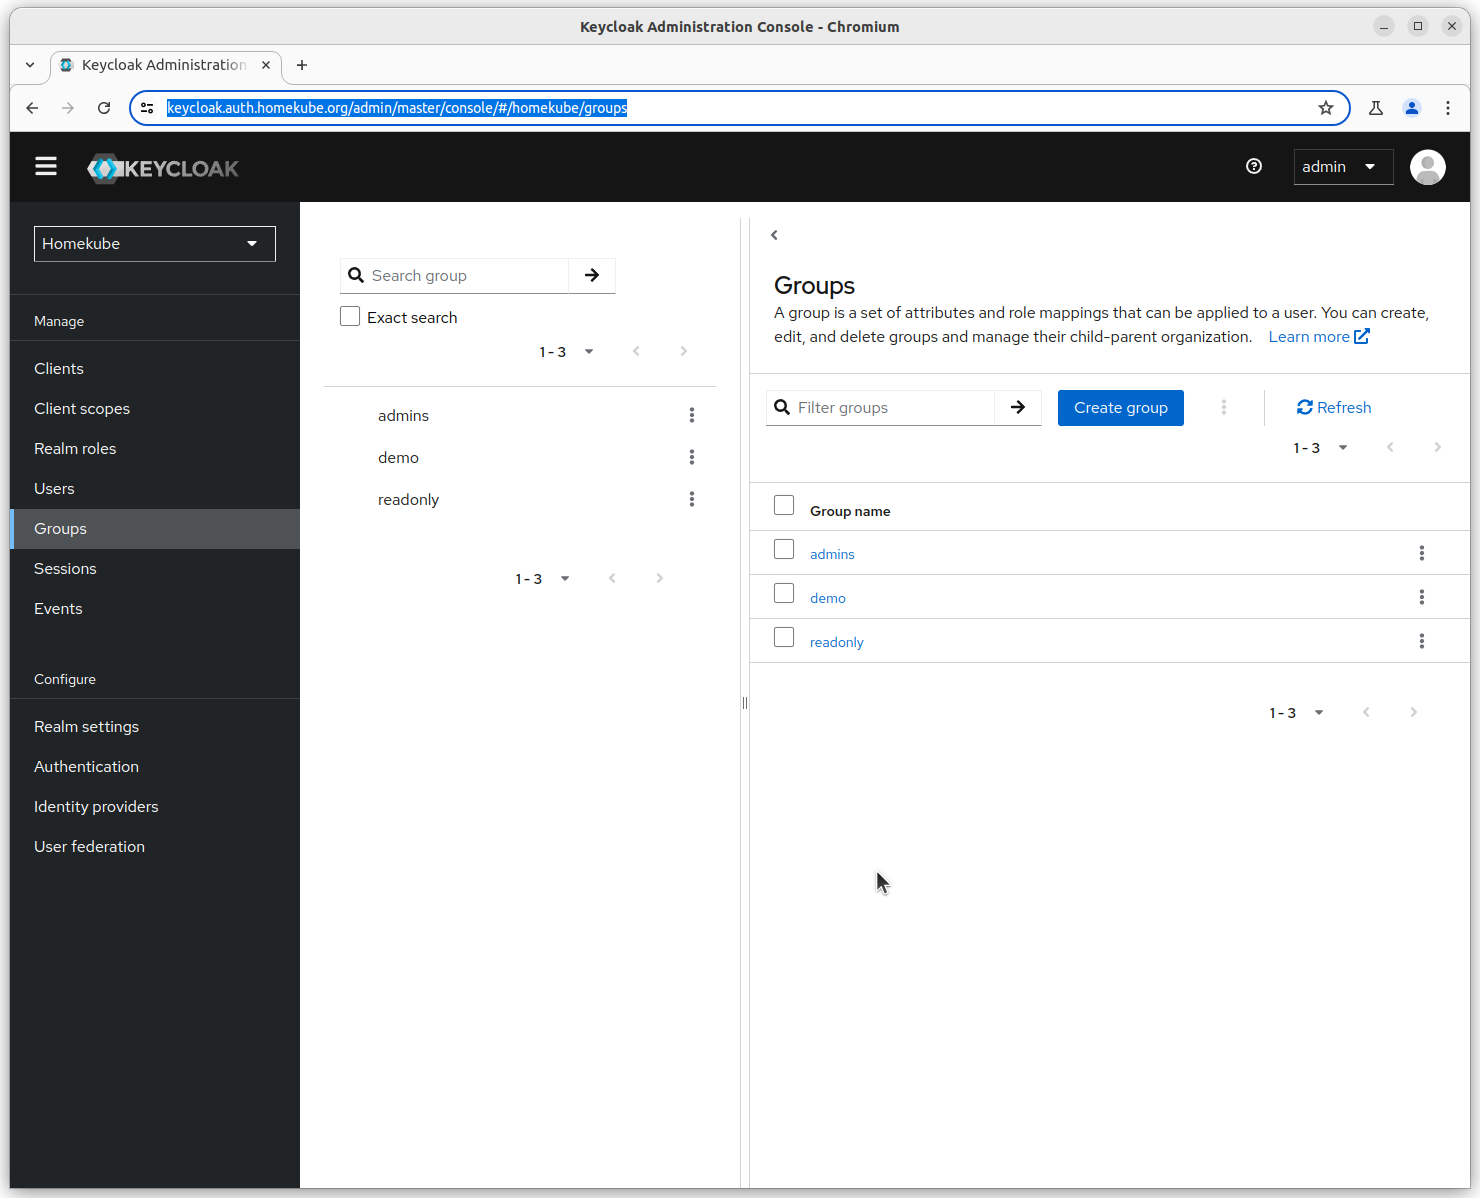
Creating groups
Permissions will be assigned on a group level so later we can easily add new users.
- admins have administration permissions and joined with
admin-user - readonly will be assigned to
simple-usersand have read permissions on most objects - demo have very restricted permissions e.g. namespaces, pods and logs and assigned to
demo
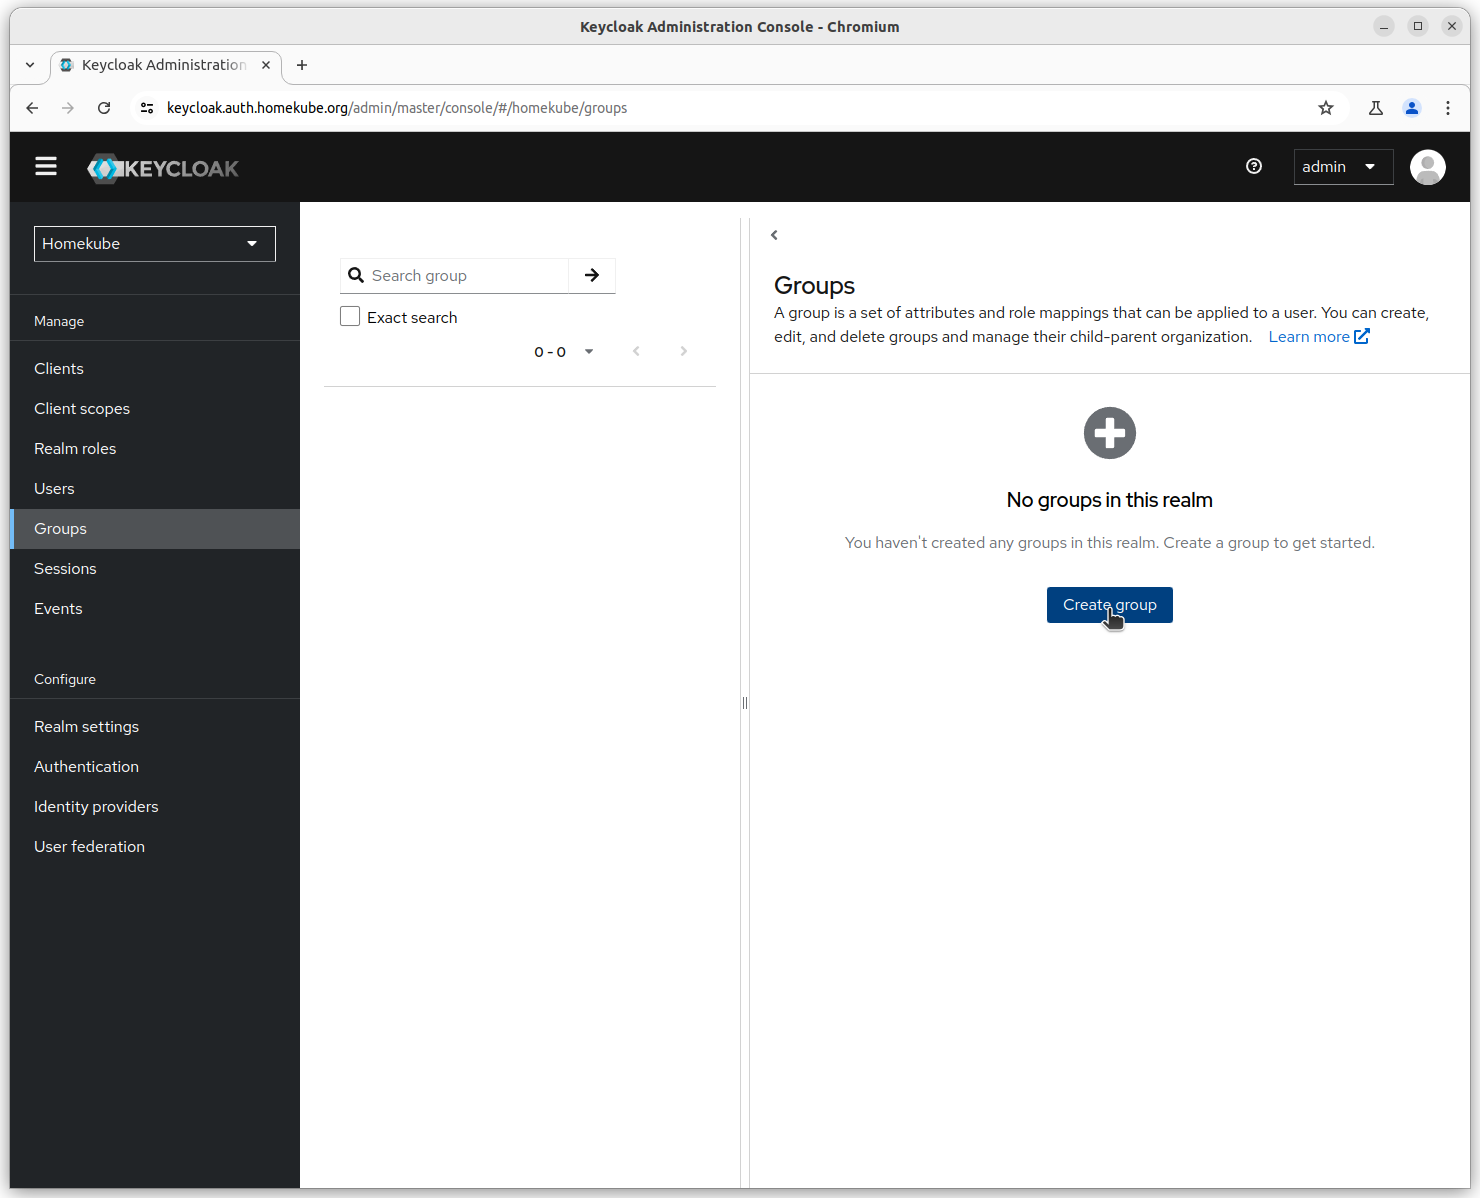
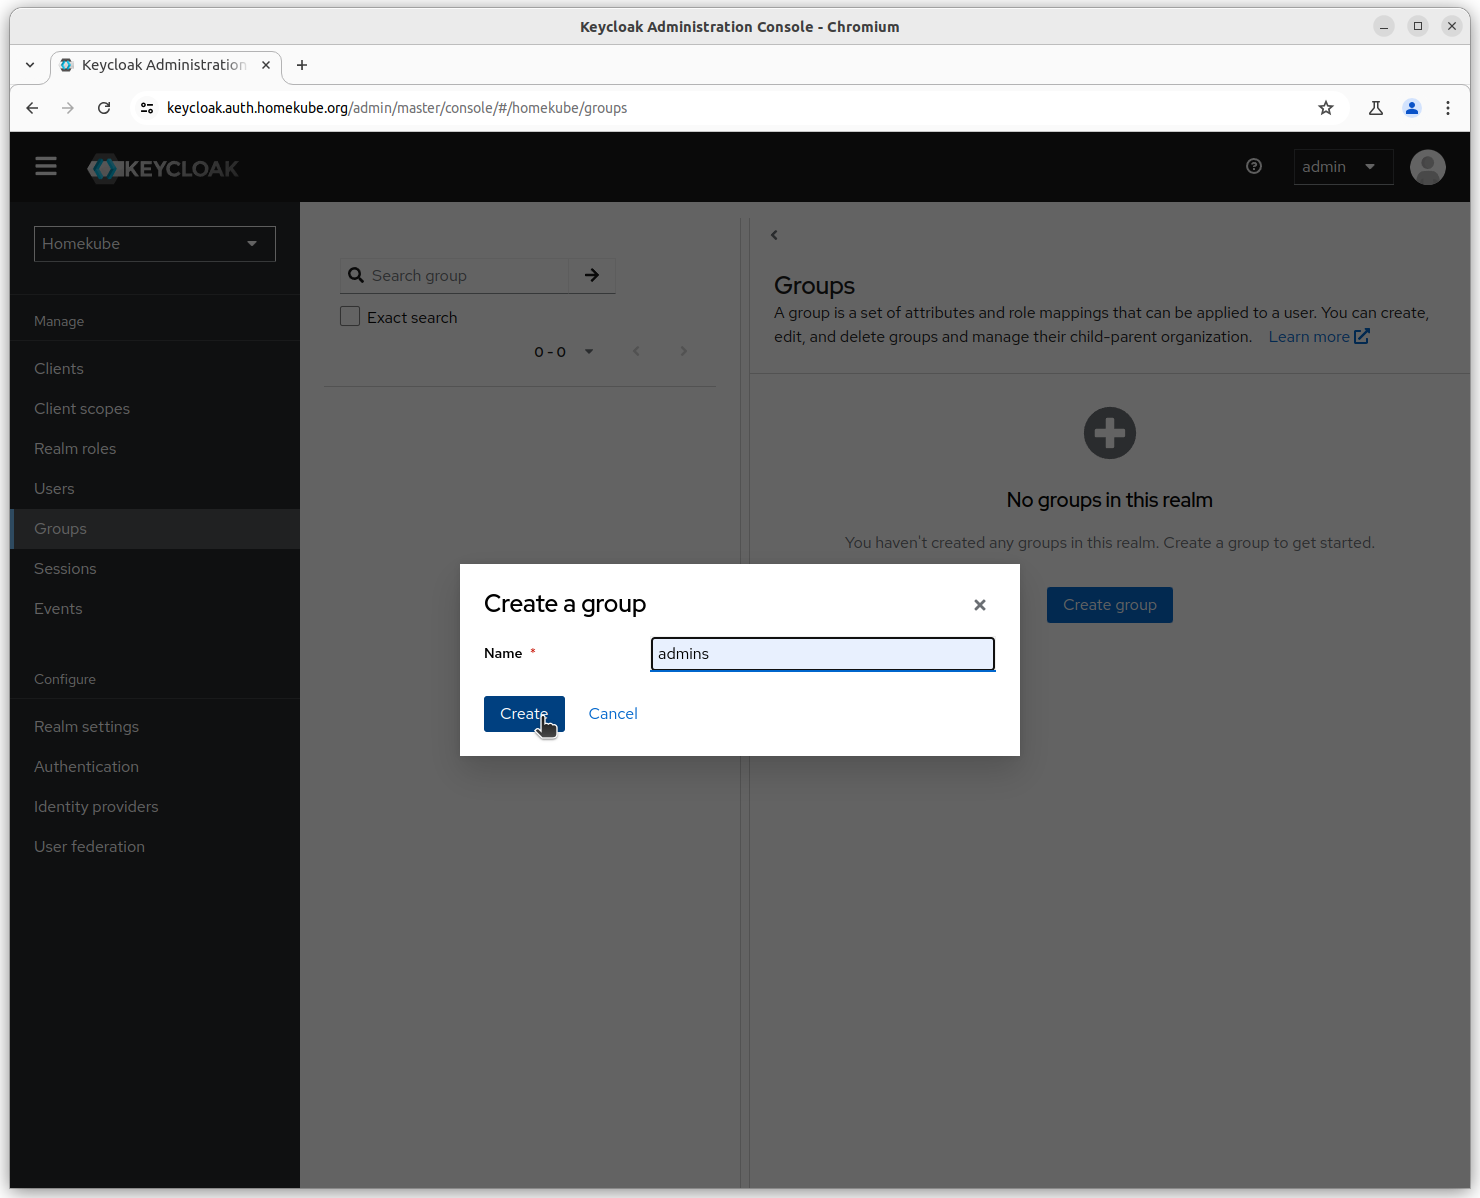
Repeat the group creation steps until the ``Group` menu looks like this
Users joining groups
Open the 3 user creation forms and join groups as outlined above.
Also enter email addresses for all users and deselect the Temporary boolean switch.
Select Email verified to true else the user will be untrusted later.
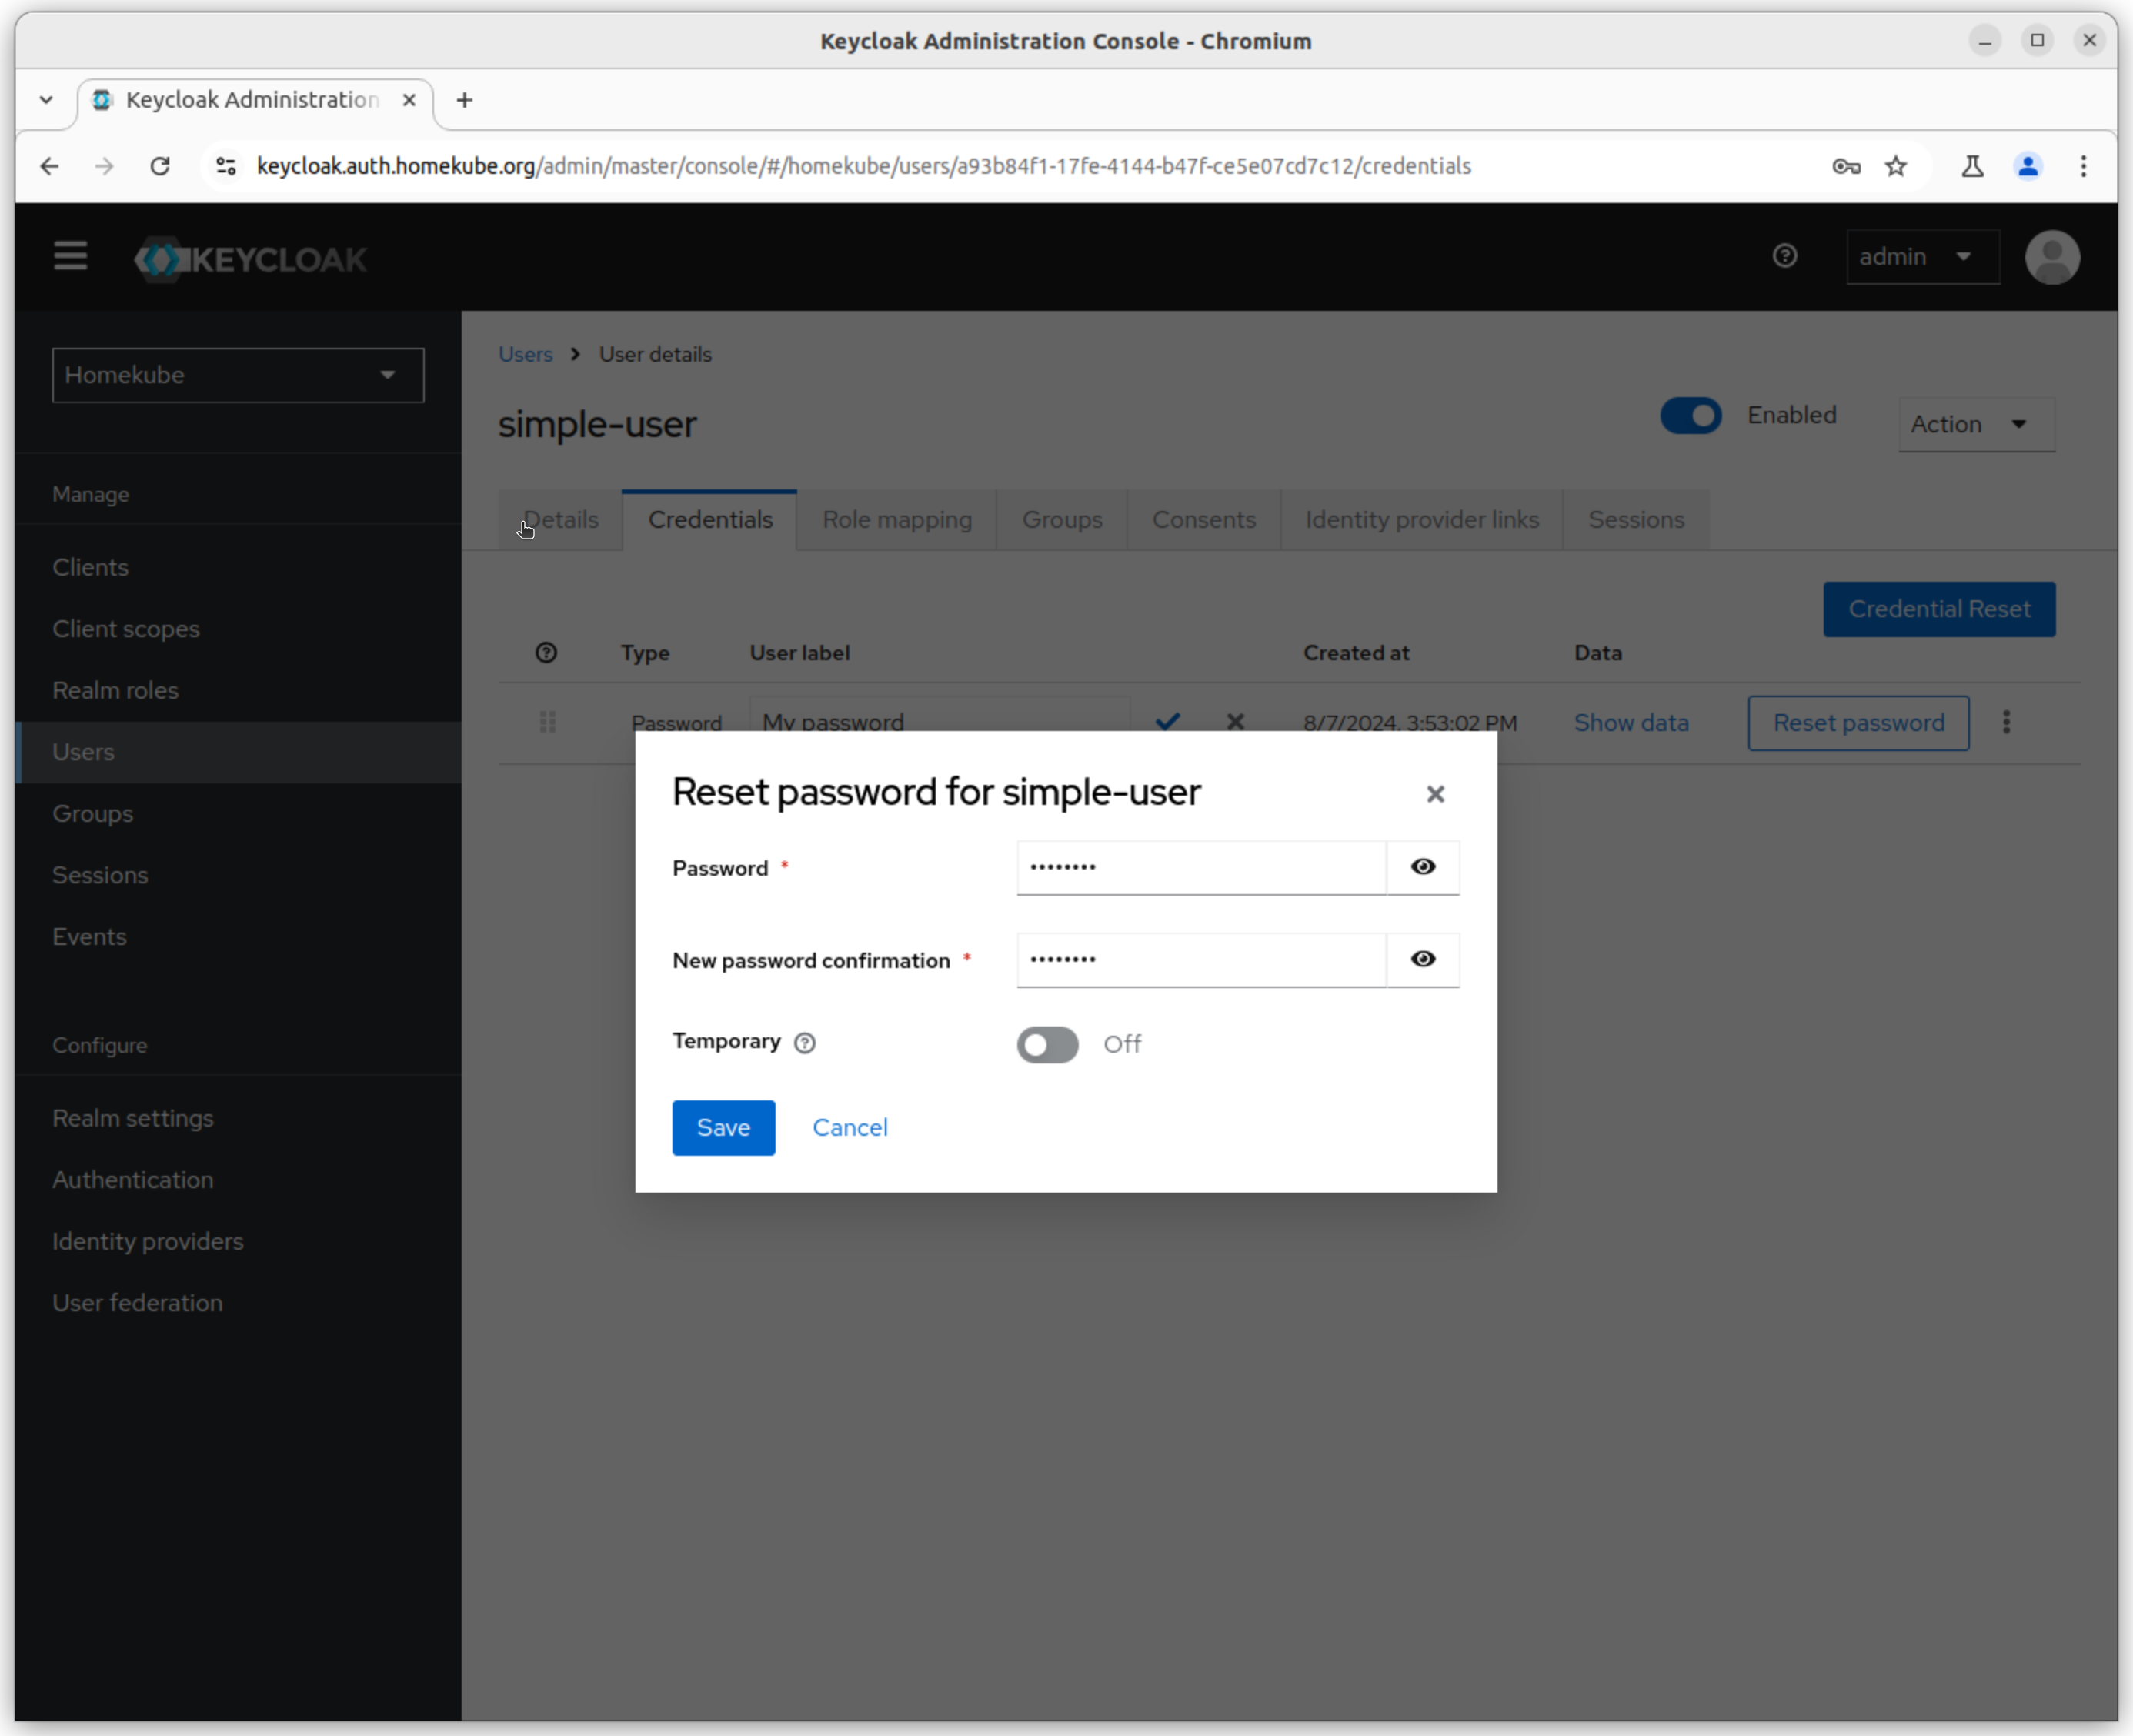
Set users credentials
Set all user credentials in this step.
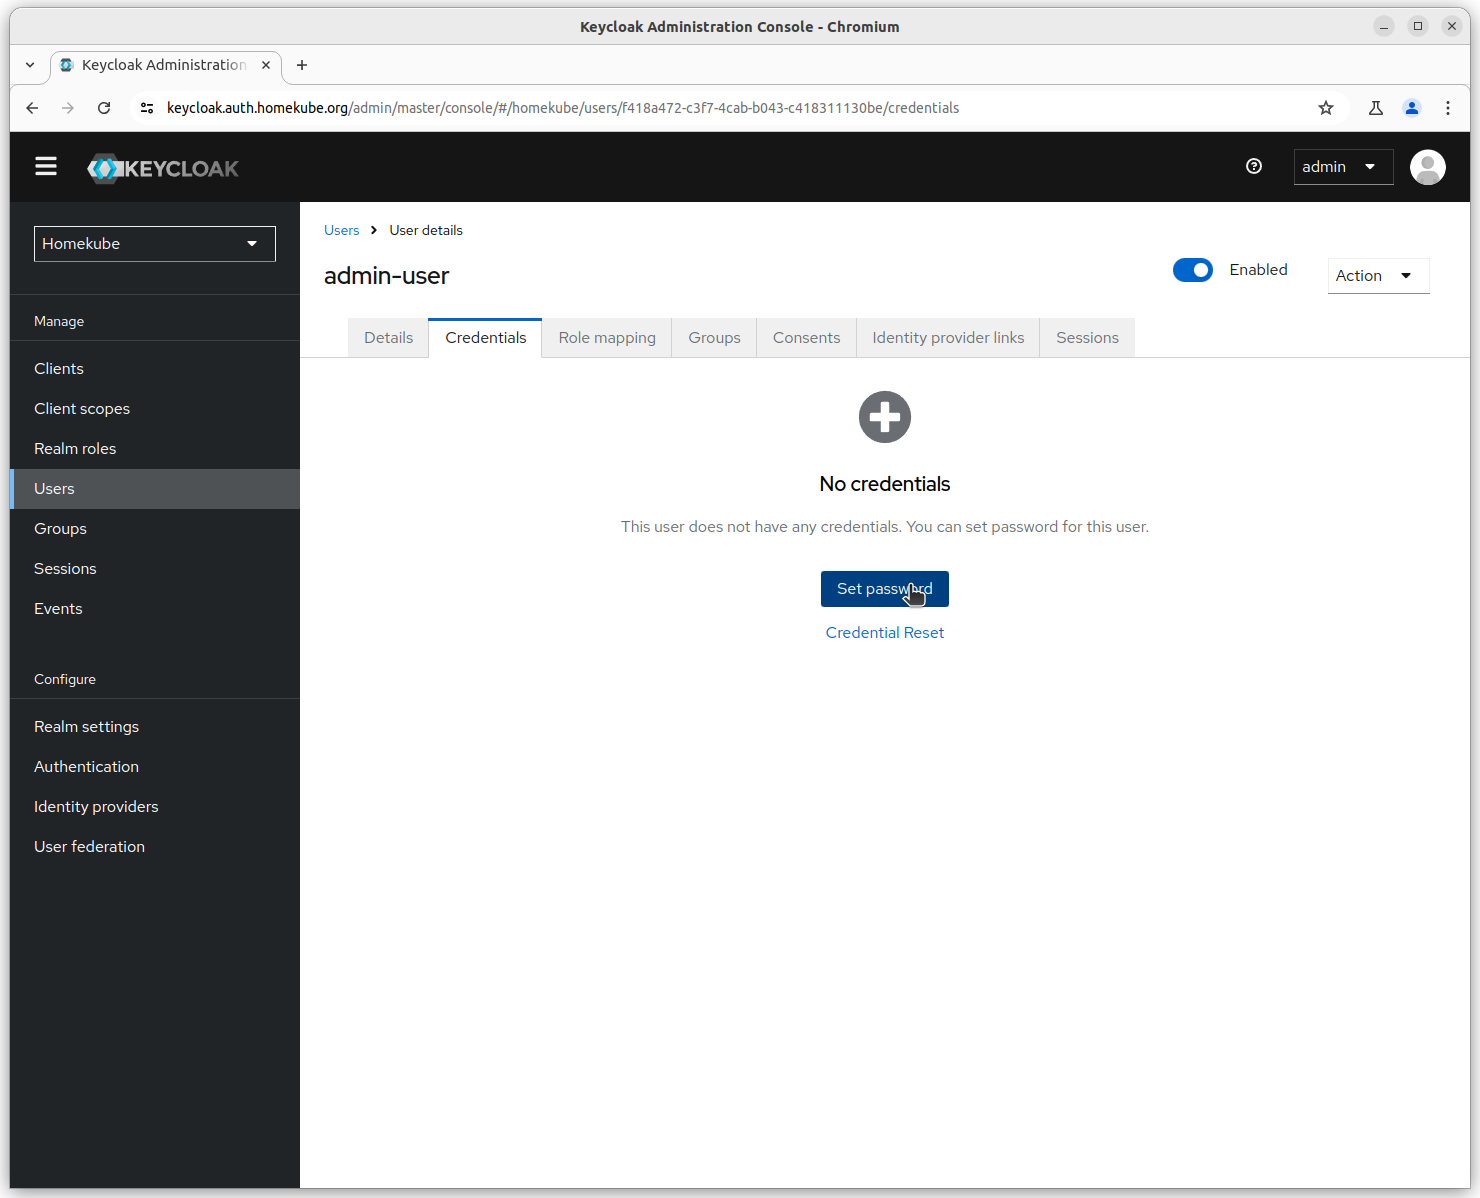
Enter a password for admin-user and keep it secret.
Repeat for demo user. For compliance with this documentation you might want to set the password to demo
Same with simple-user which password should be set to the ${HOMEKUBE_KEYCLOAK_PASSWORD}
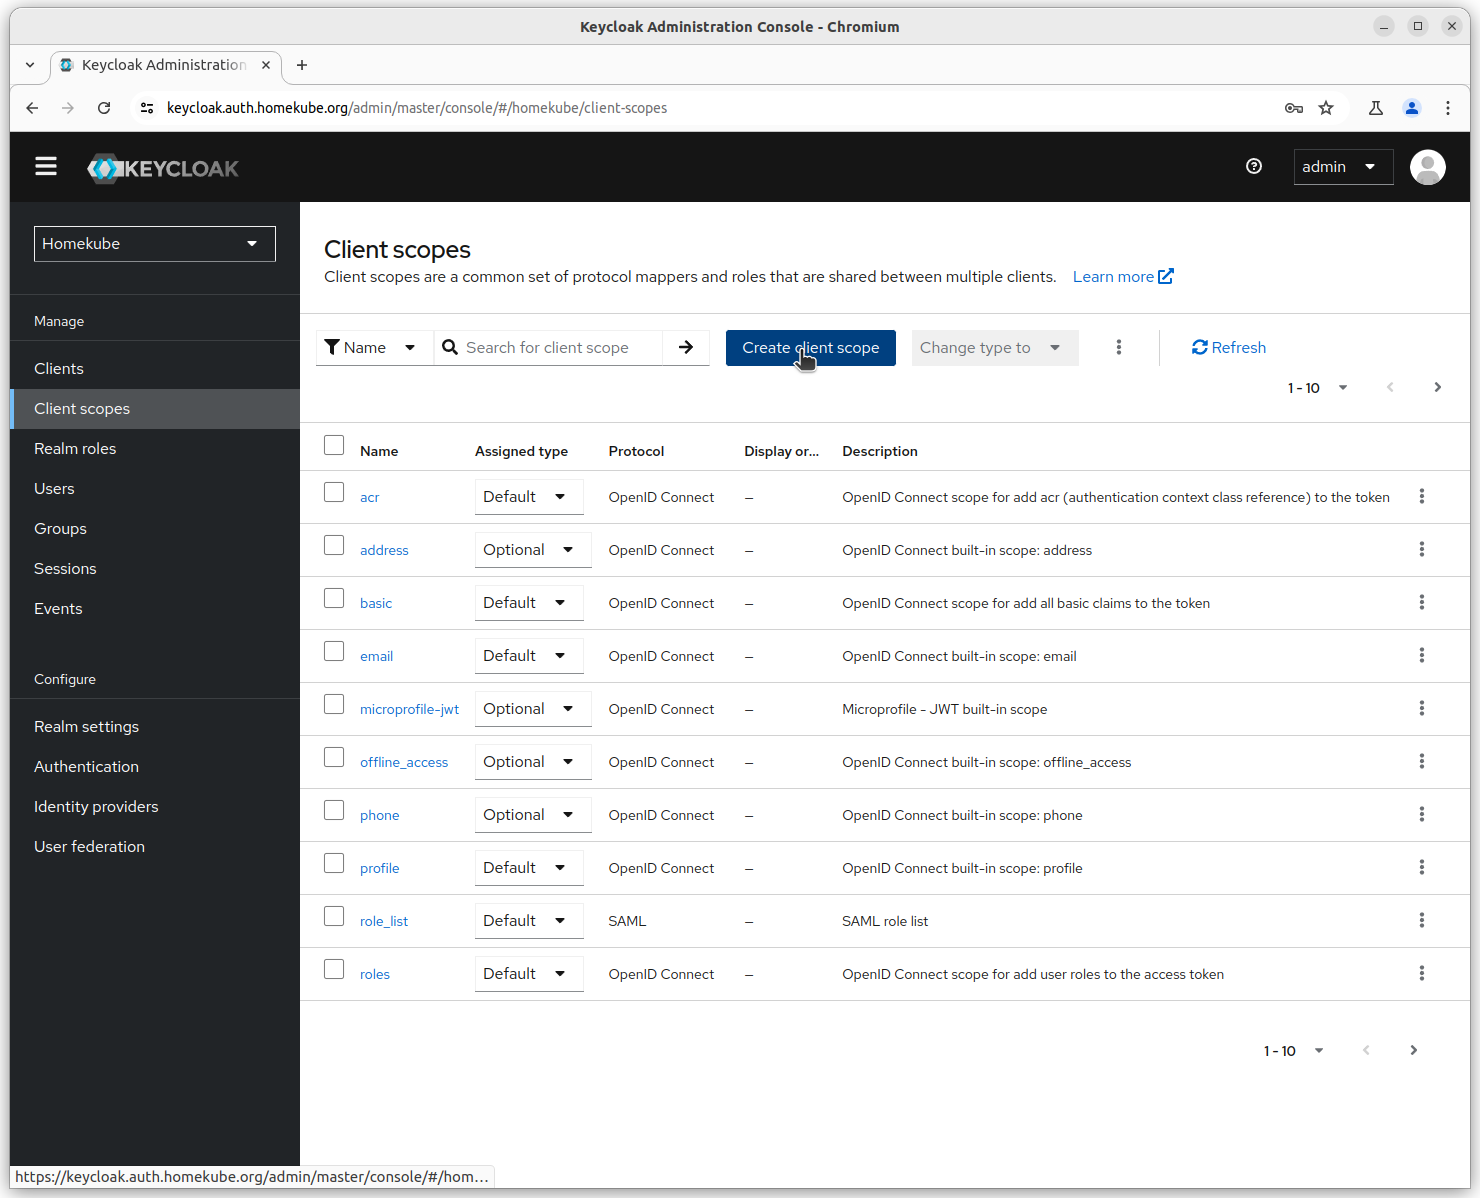
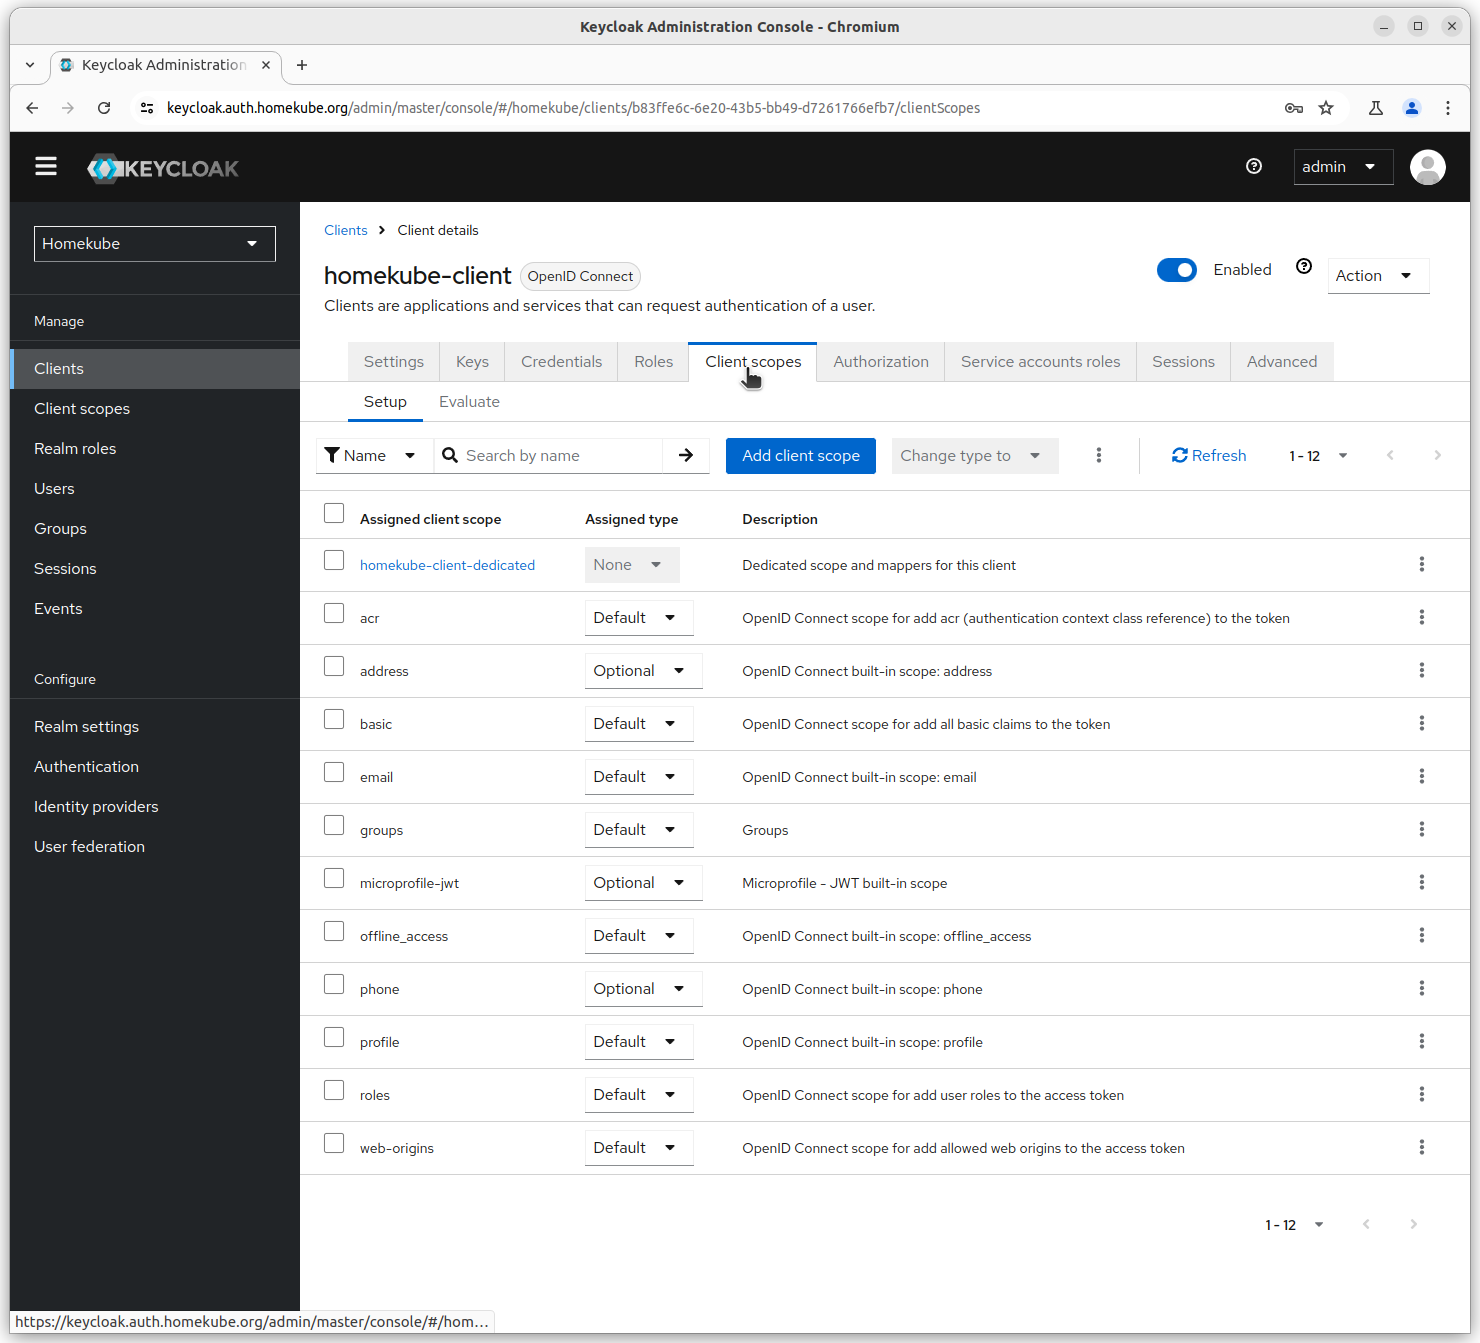
Create a client scope
Now that we have created groups we need to tell keycloak to add the group information to the generated tokens. Client scopes are predefined settings for common requirements that can be applied optional or by default to each client. The screenshot shows the initial configuration after keycloak installation.
Keycloak generates tokens on client requests and there is a common set of information predefined access token attributes.
We want to map a users group to the groups attribute of the access token. Based on this attribute we will create bindings
to Clusterroles and Roles. See the dashboards bindings.
However the groups attribute is not defined by default so we need to add it here.
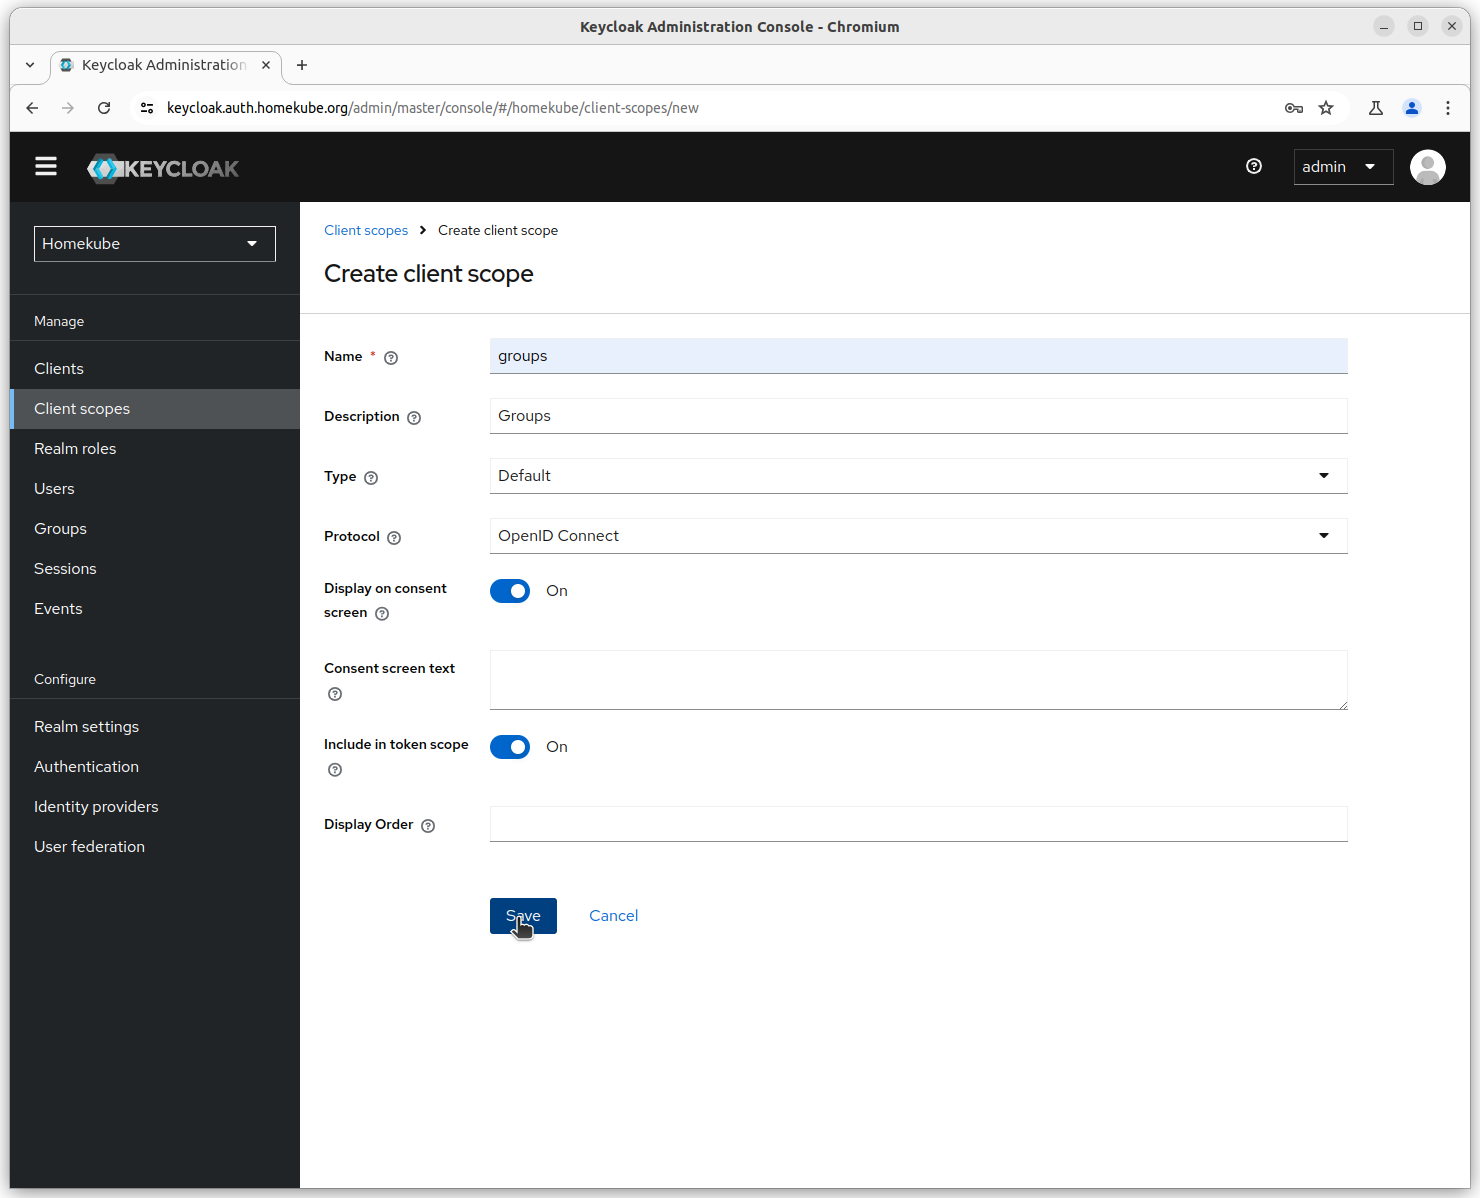
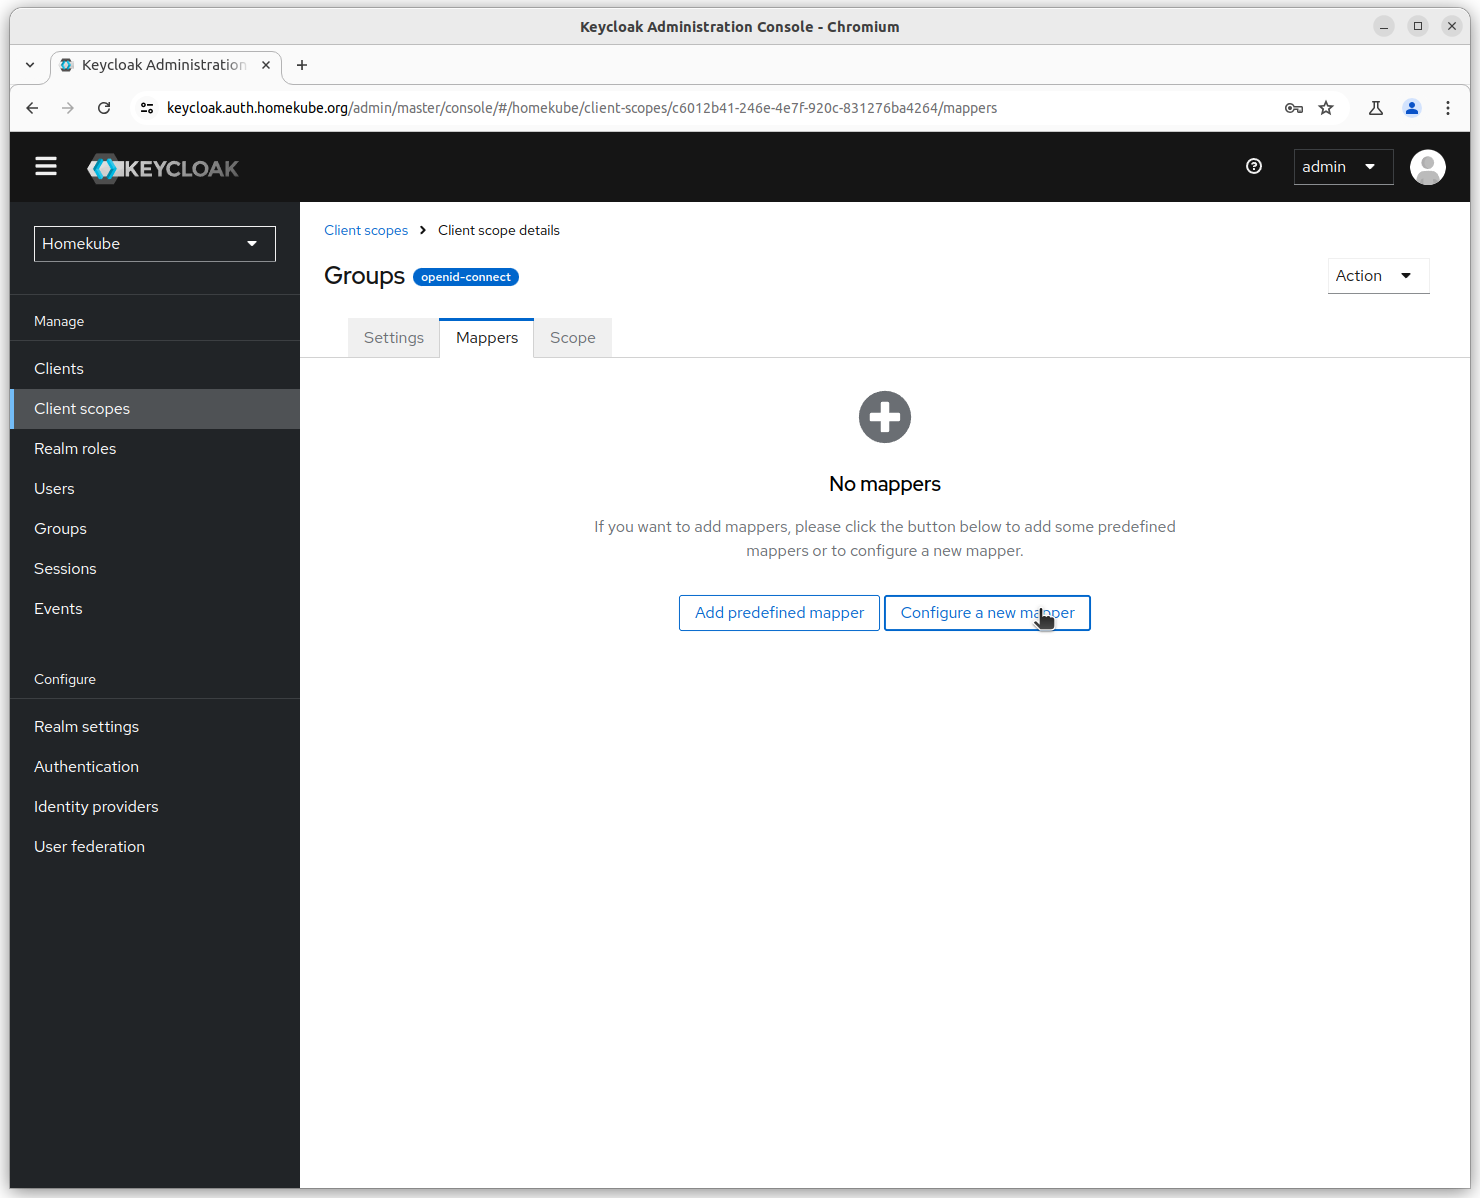
Add group mappings to client scope
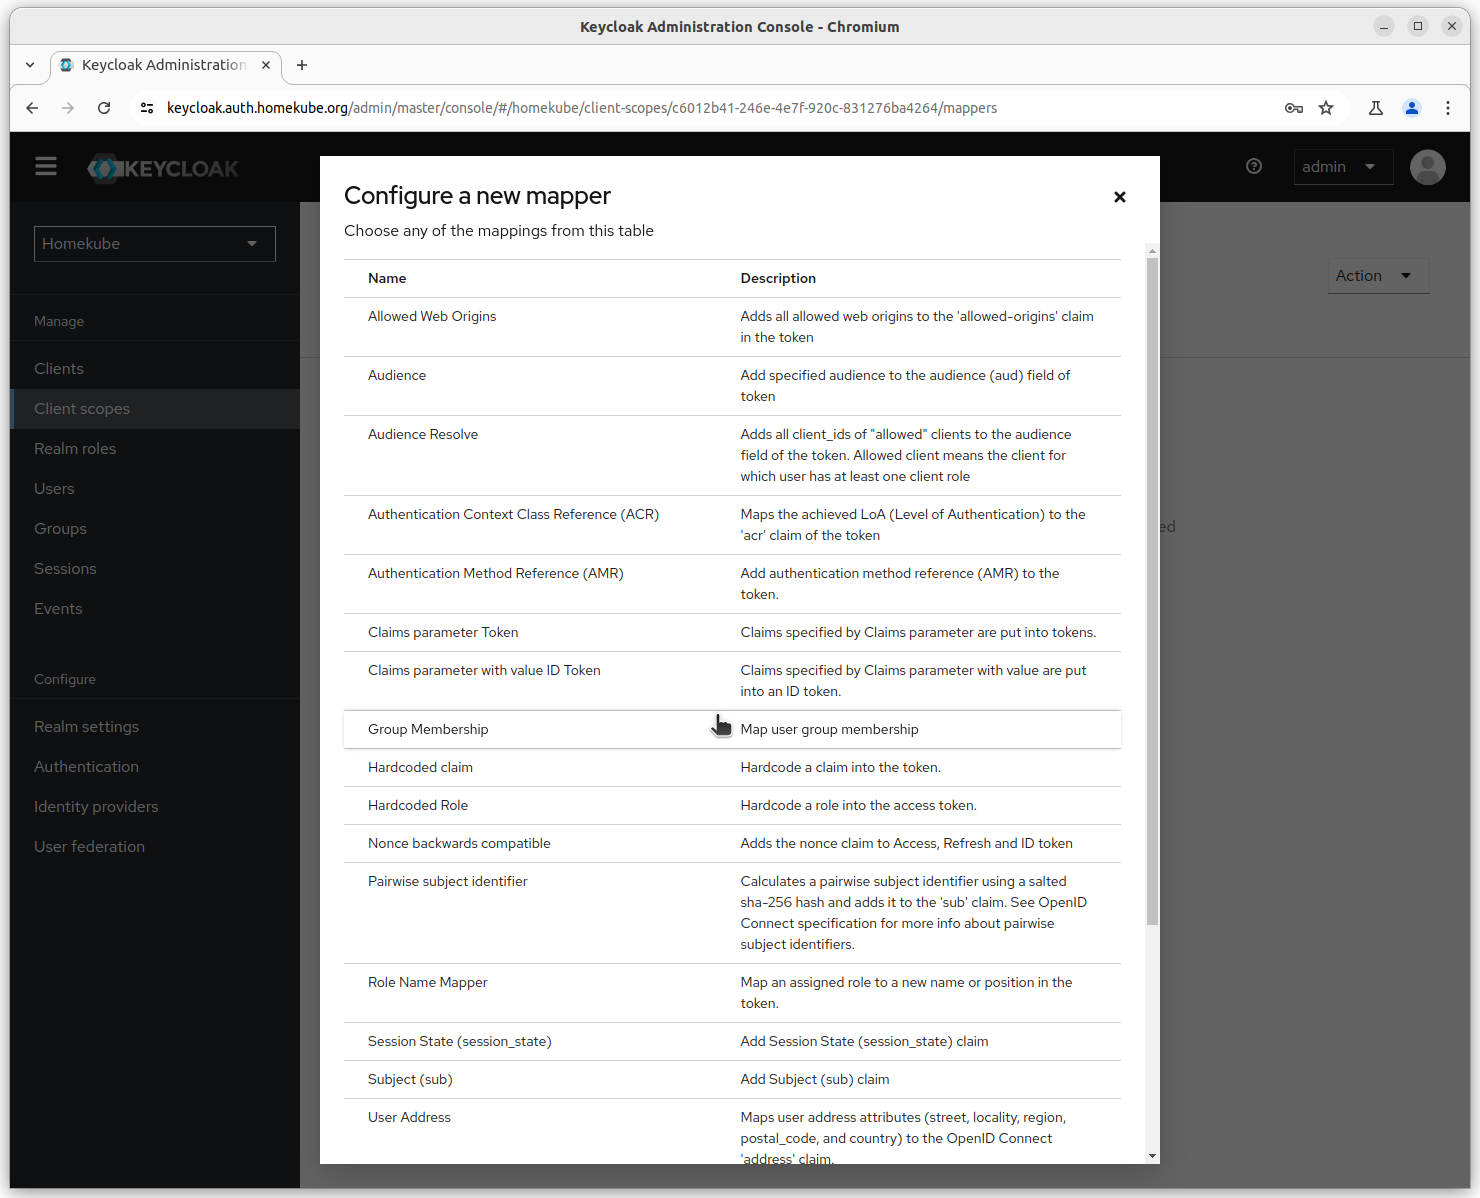
In Keycloaks config we need to define the details of the mapping. First we create a new mapper.
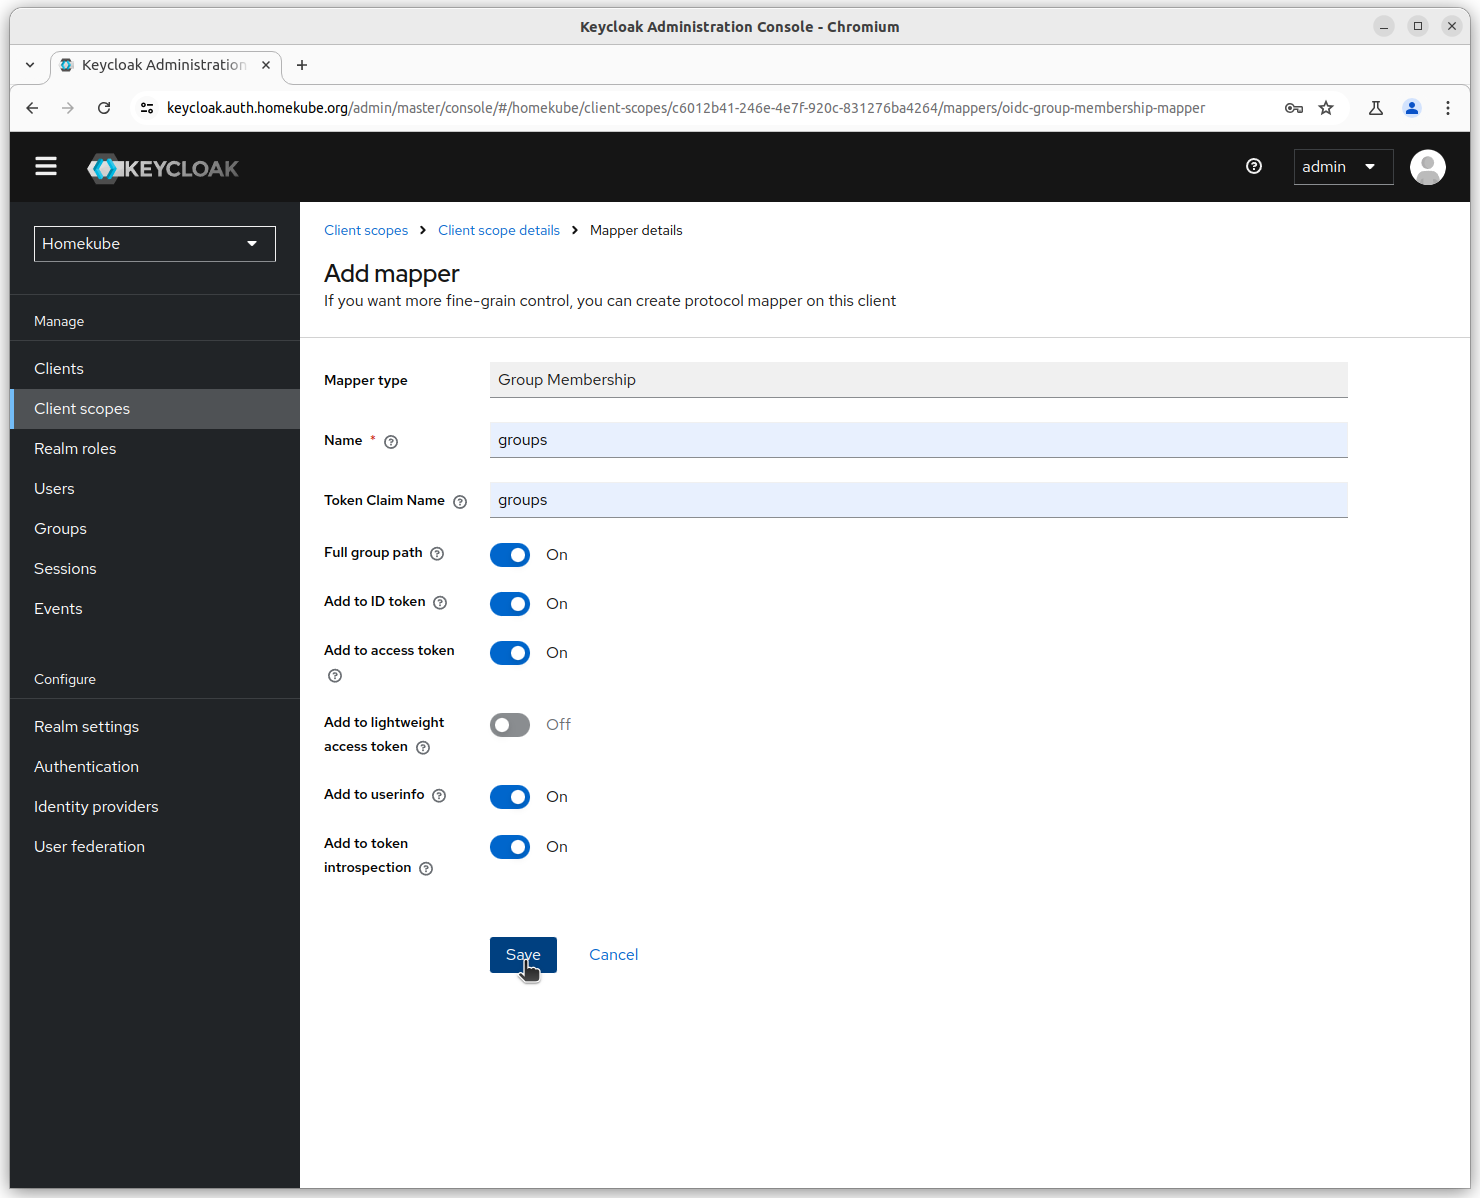
Mapper type is Group Membership
On the mapper details tab activate all settings as shown.
As a last step add the newly created mapper scope to our client scope homekube-client.
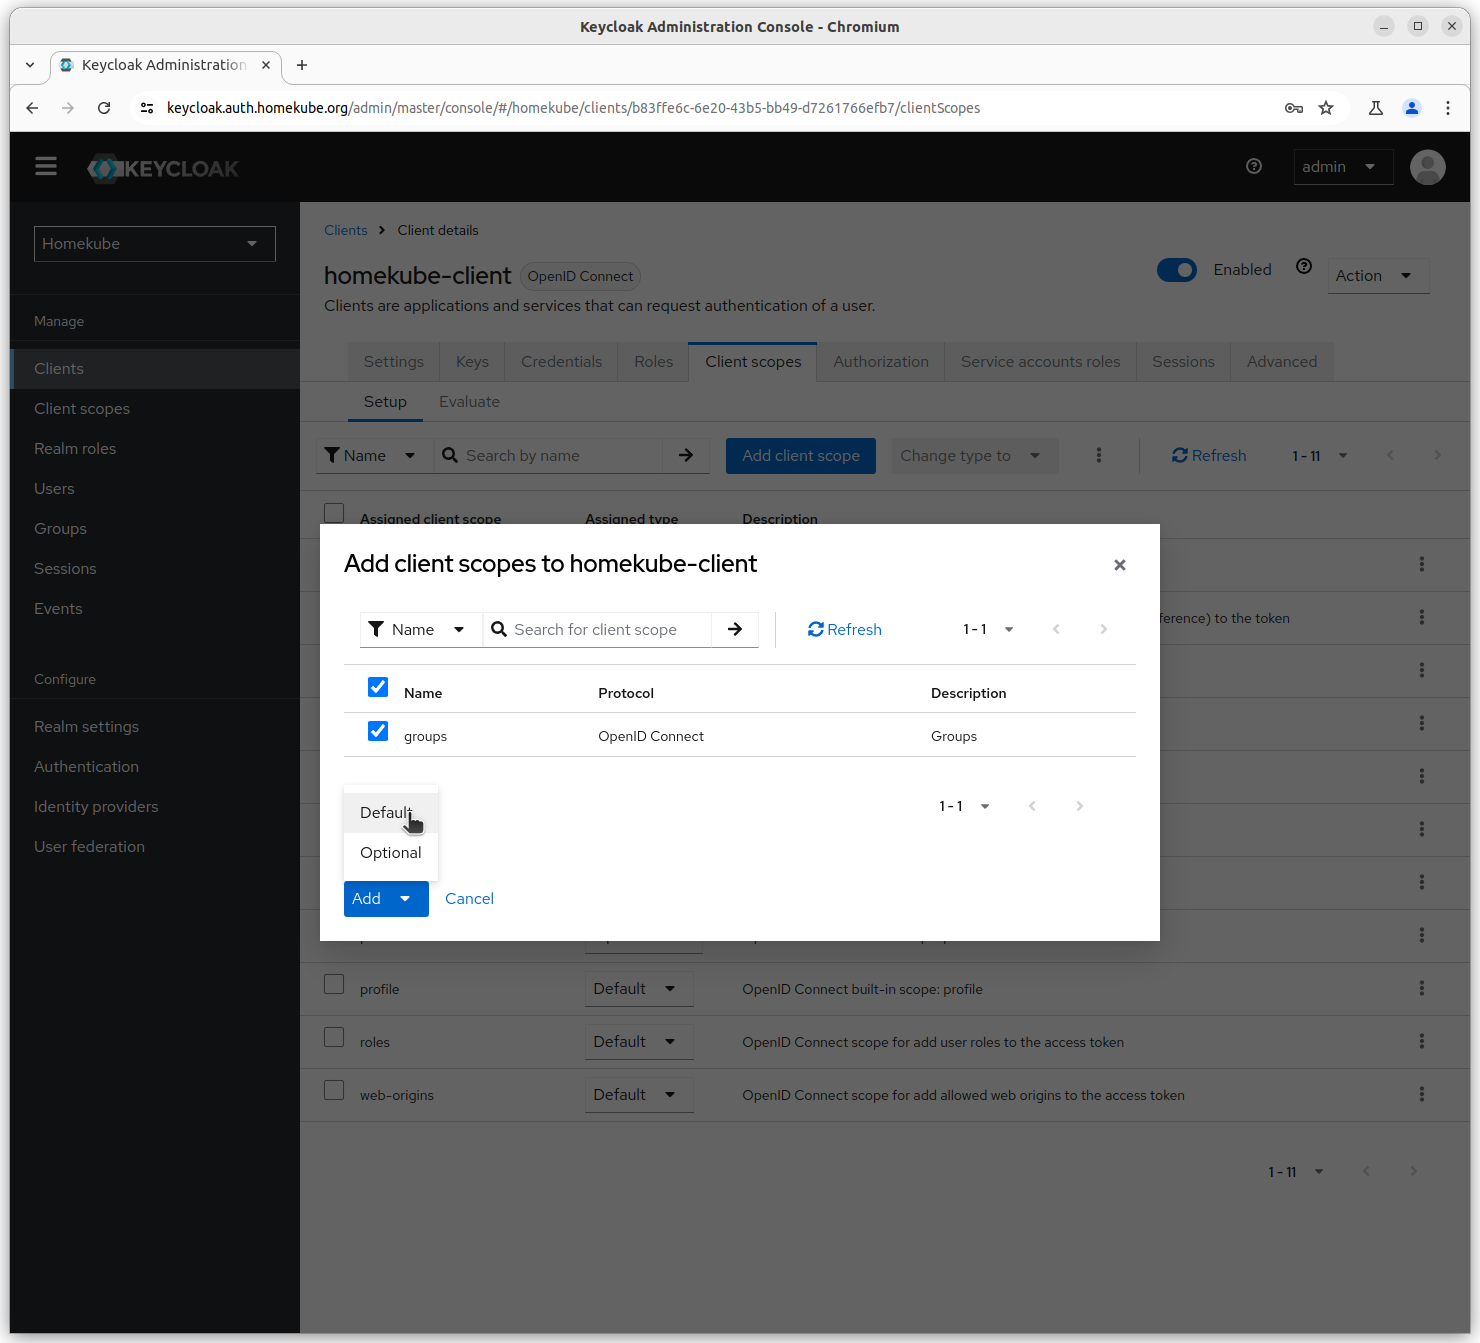
Finally our homekube-client will look like this.
It includes all the predefined default settings and the groups scope we have just created.
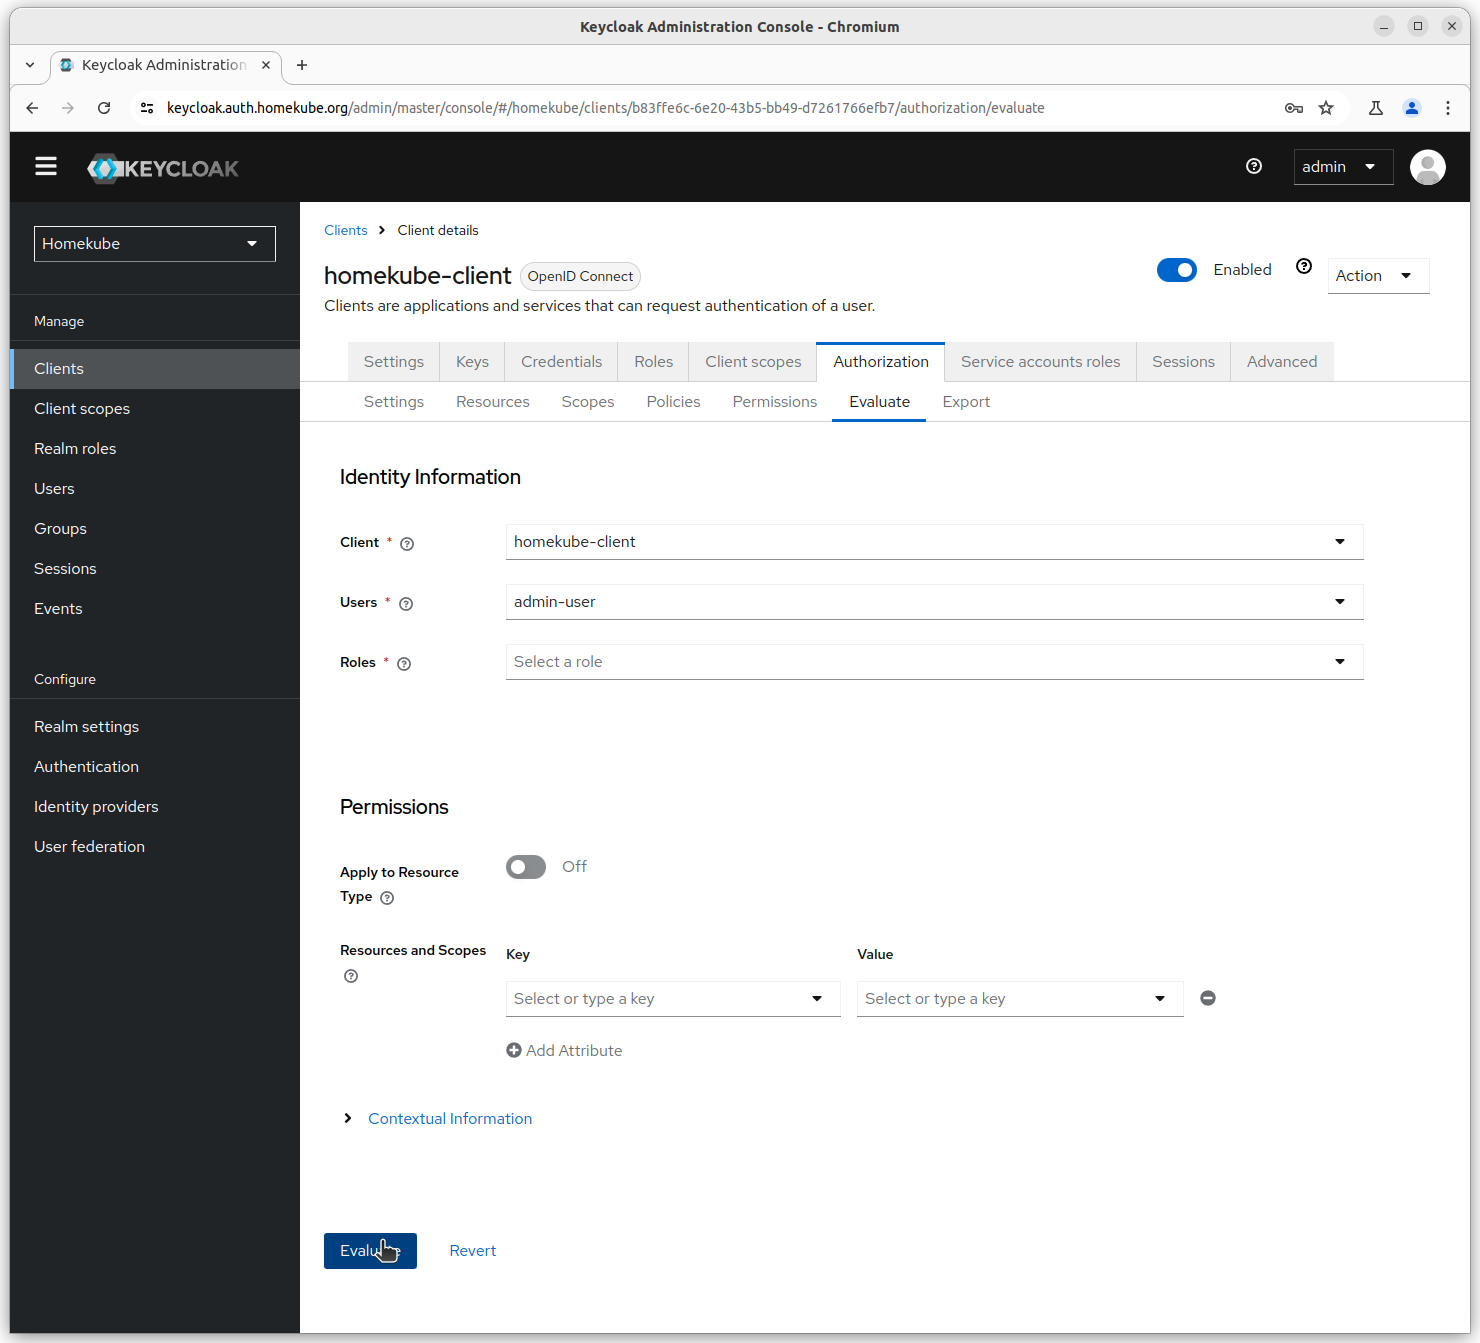
Check and evaluate configuration
Now that we have almost completed the configuration lets evaluate the result.
Luckily Keycloak provides a dry-running mode to evaluate the configuration.
In the homekube-client go to the Authorization -> Evaluate tab.
Select Client and User from the choices then click Evaluate
On the next form click Show authorization data
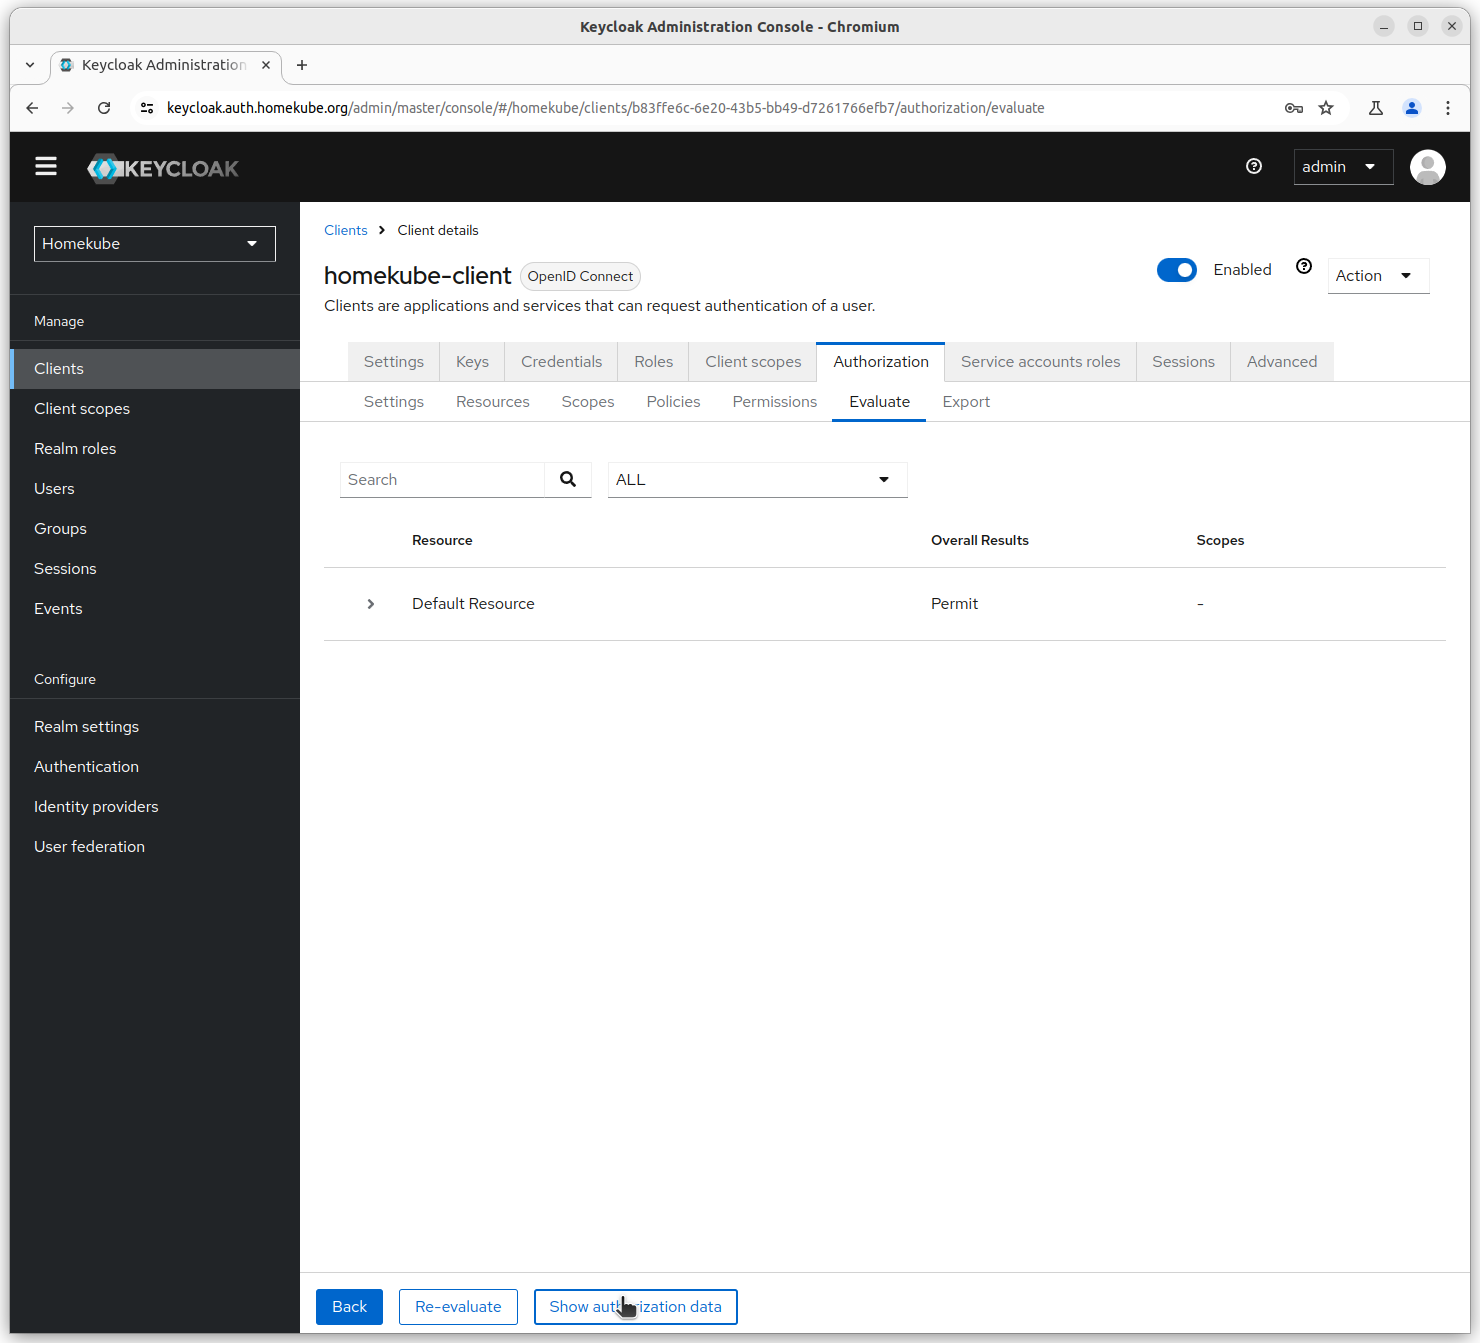
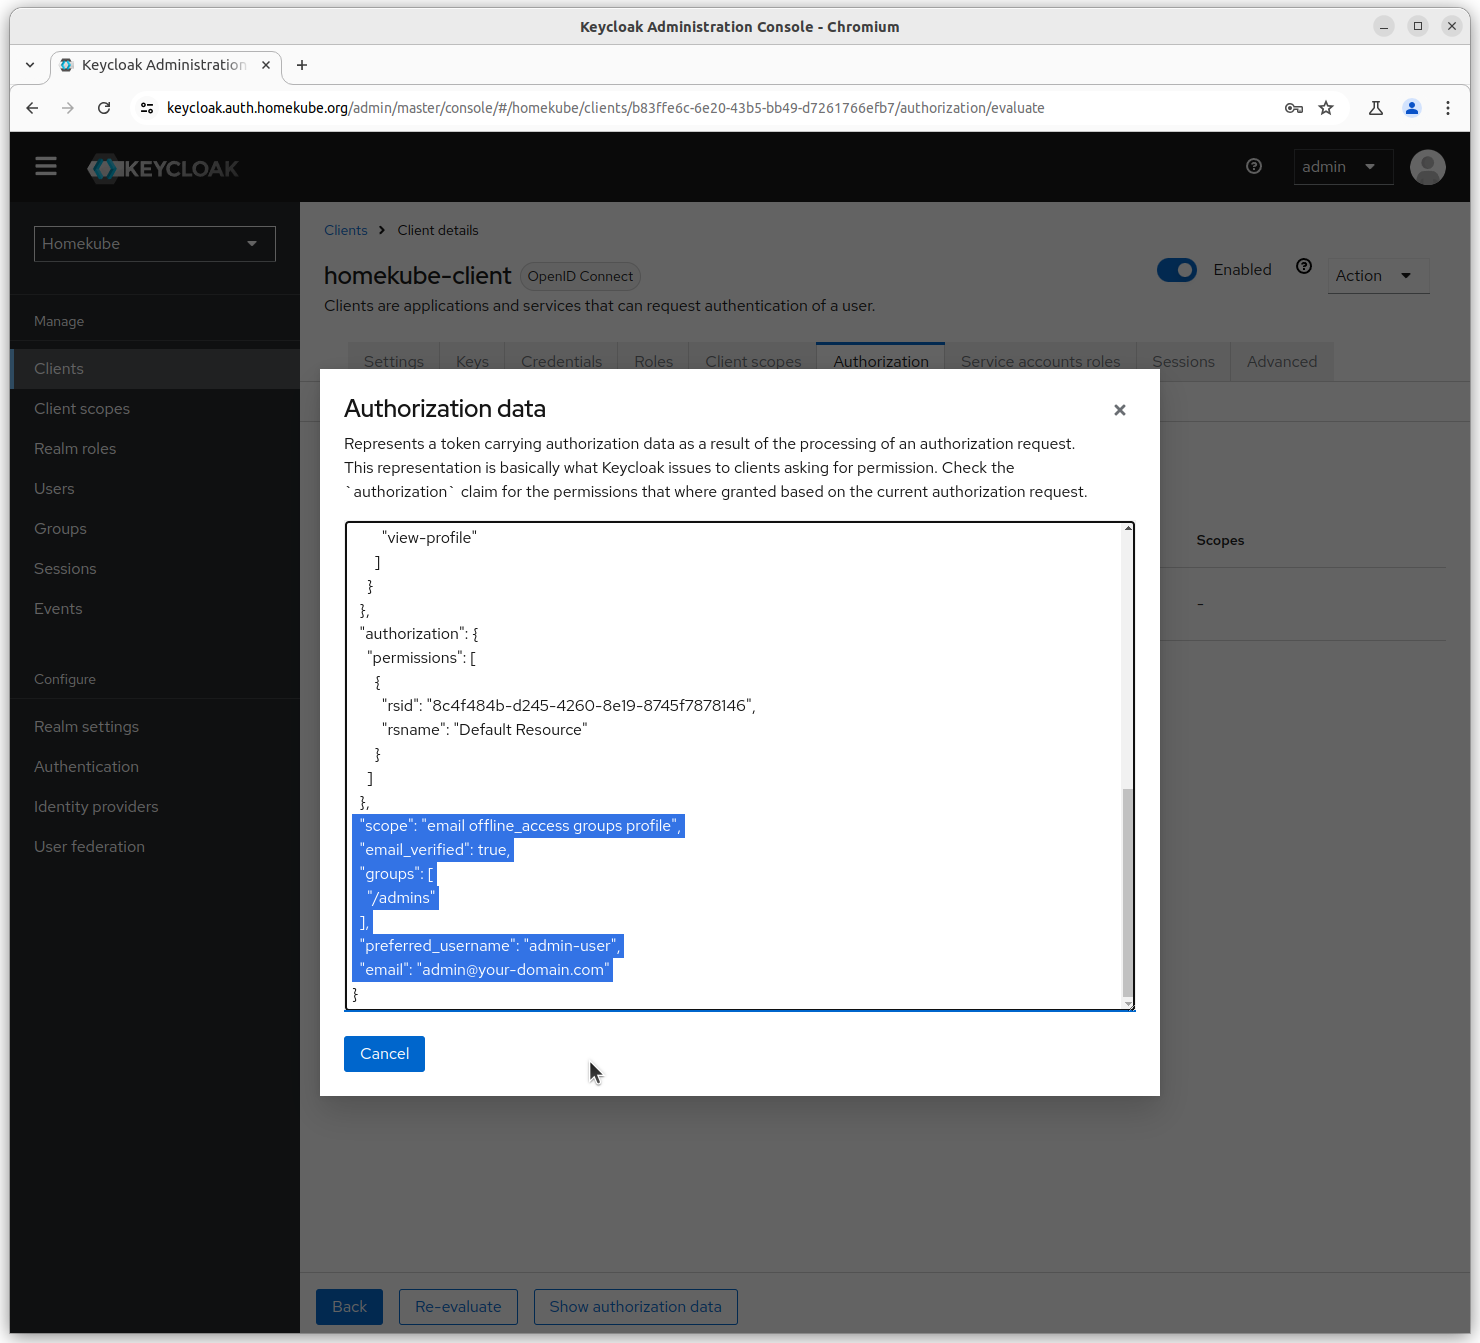
The Popup shows the generated authorization data which will be ransmitted to the client as a JWT token.
The important parts (e.g. groups attribute) are highlighted.
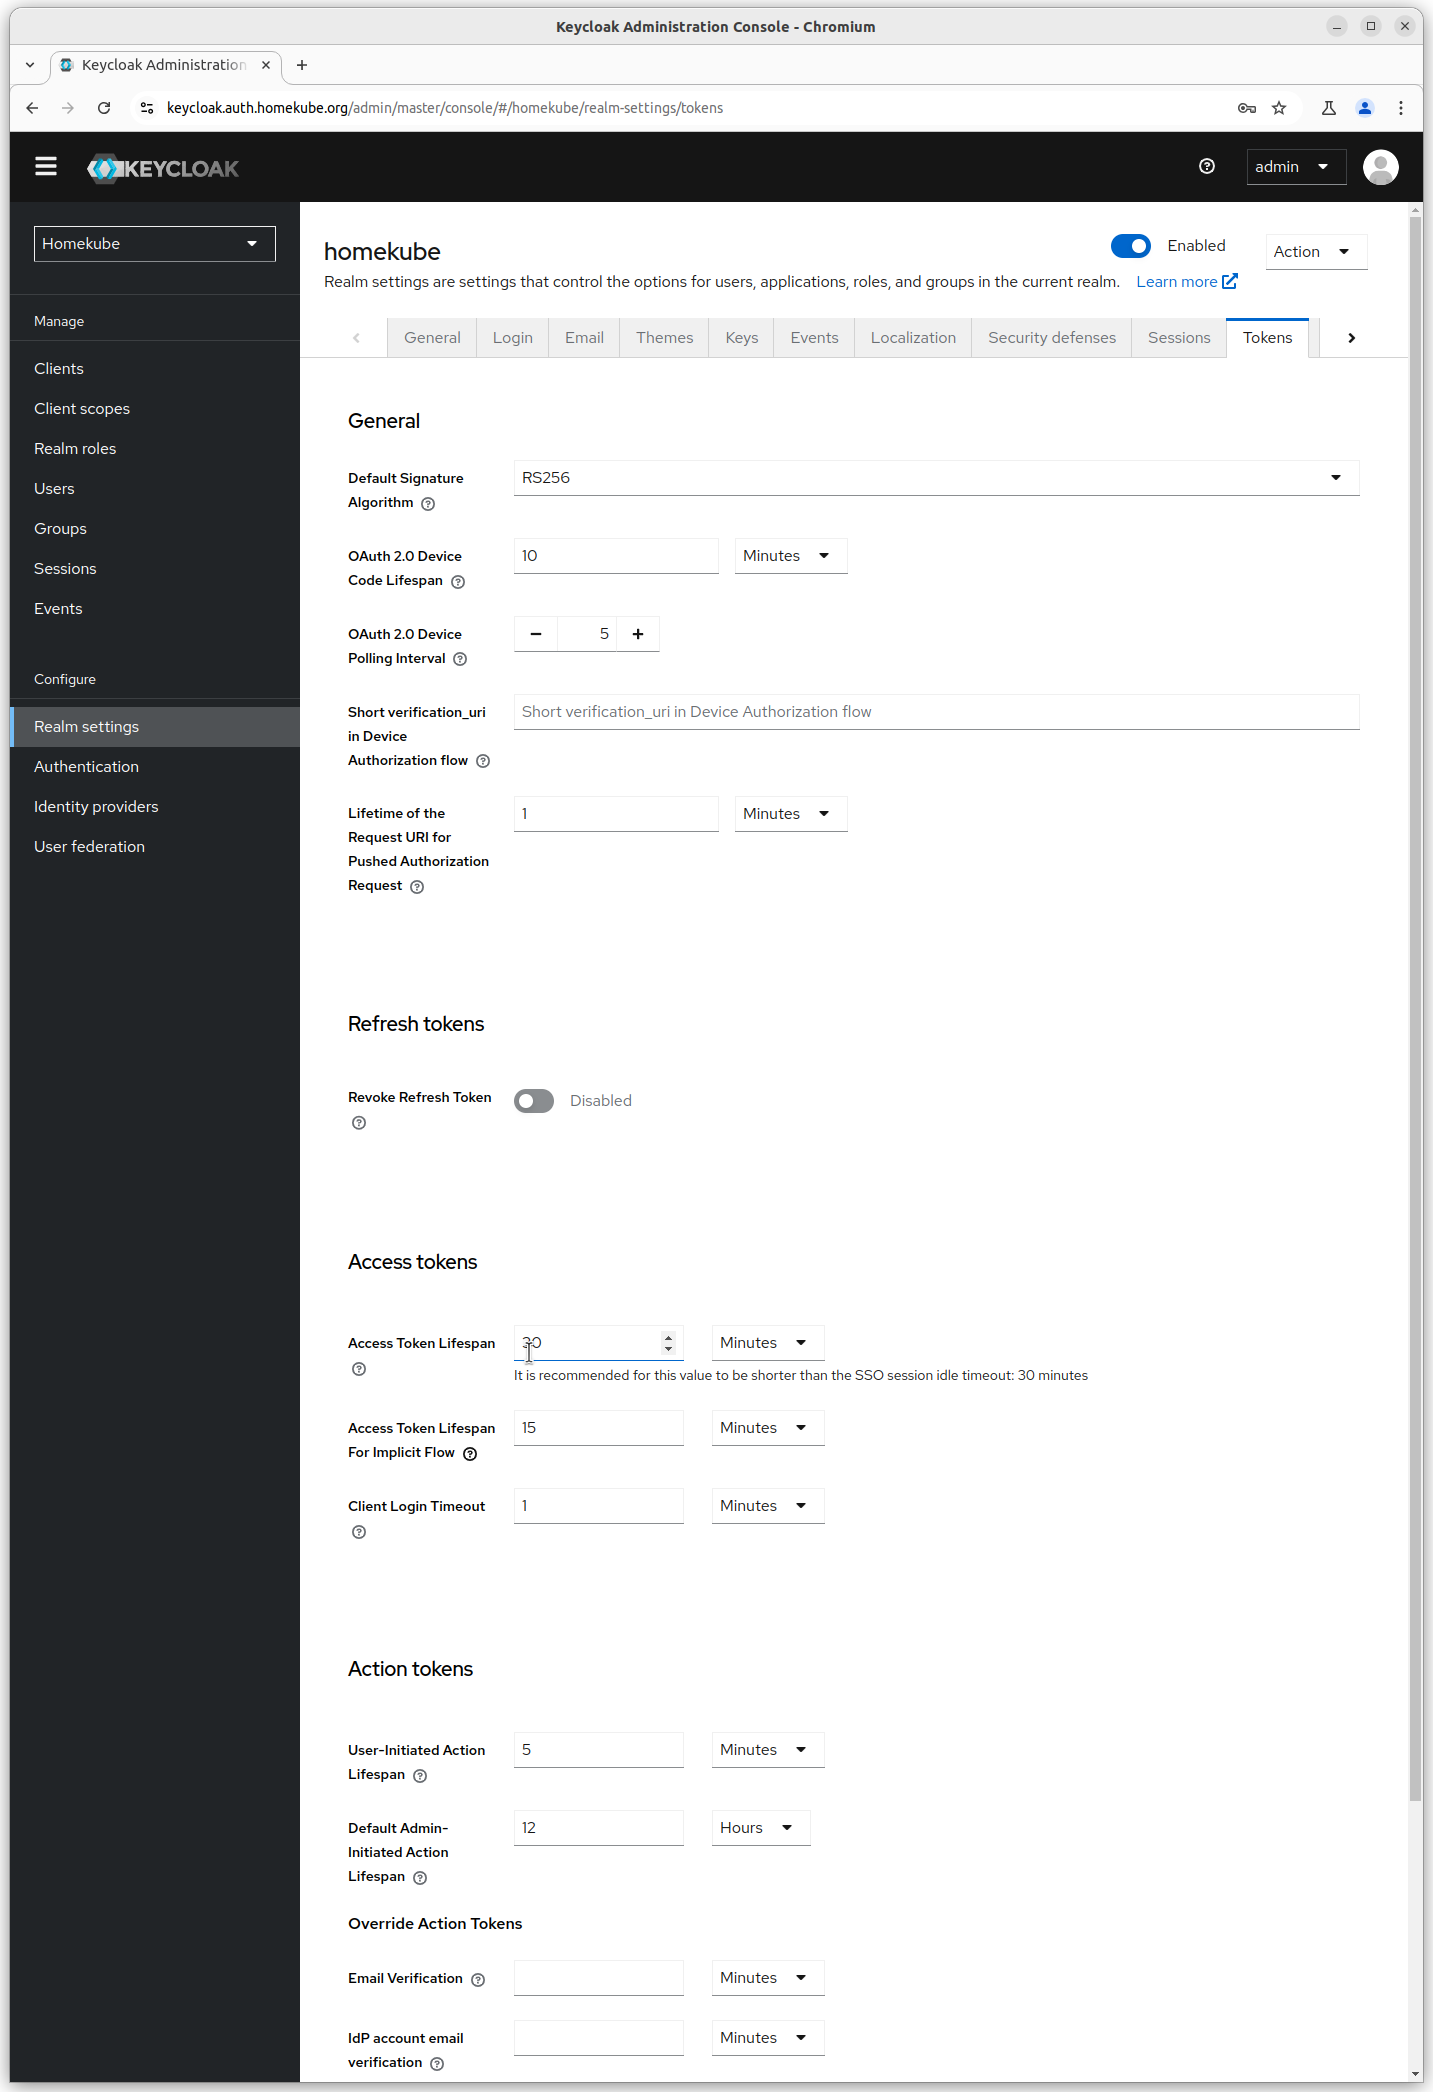
Finetuning configuration
There are a couple of settings to fine tune the behaviour and lets increase the token lifespan to a more generous setting (30 mins).